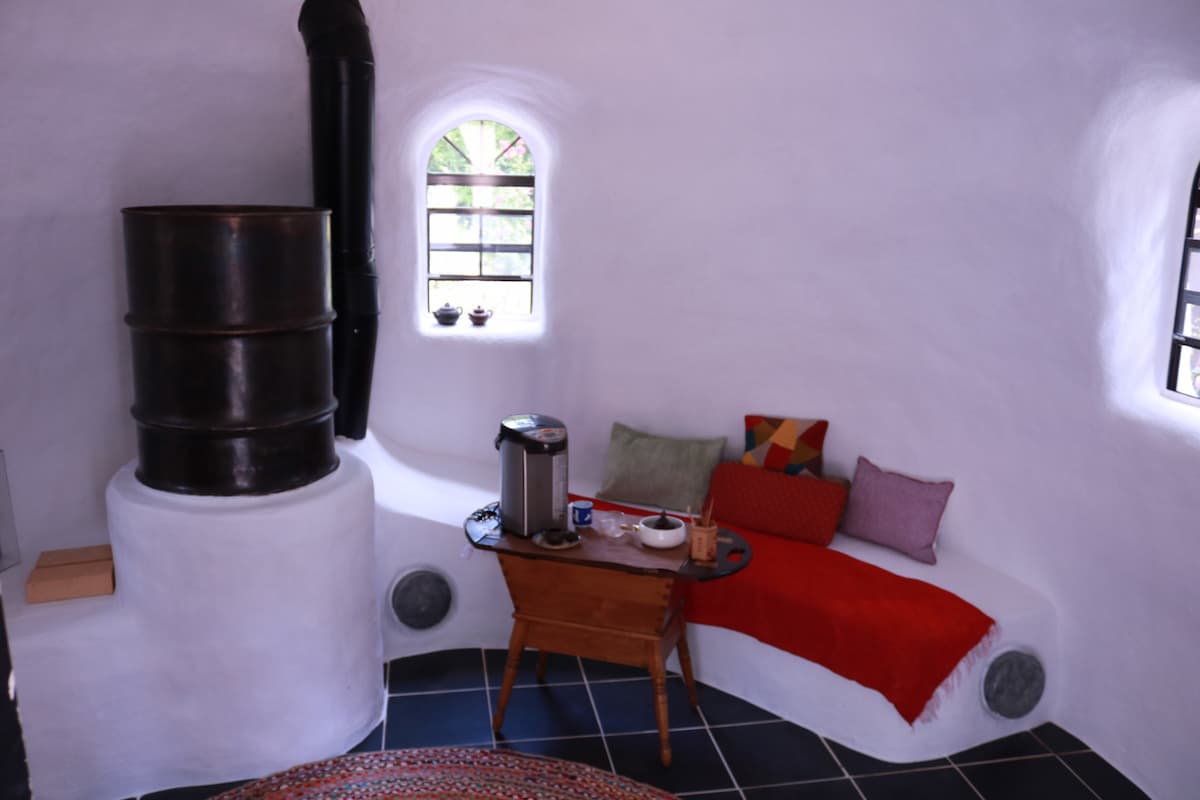
01Planning
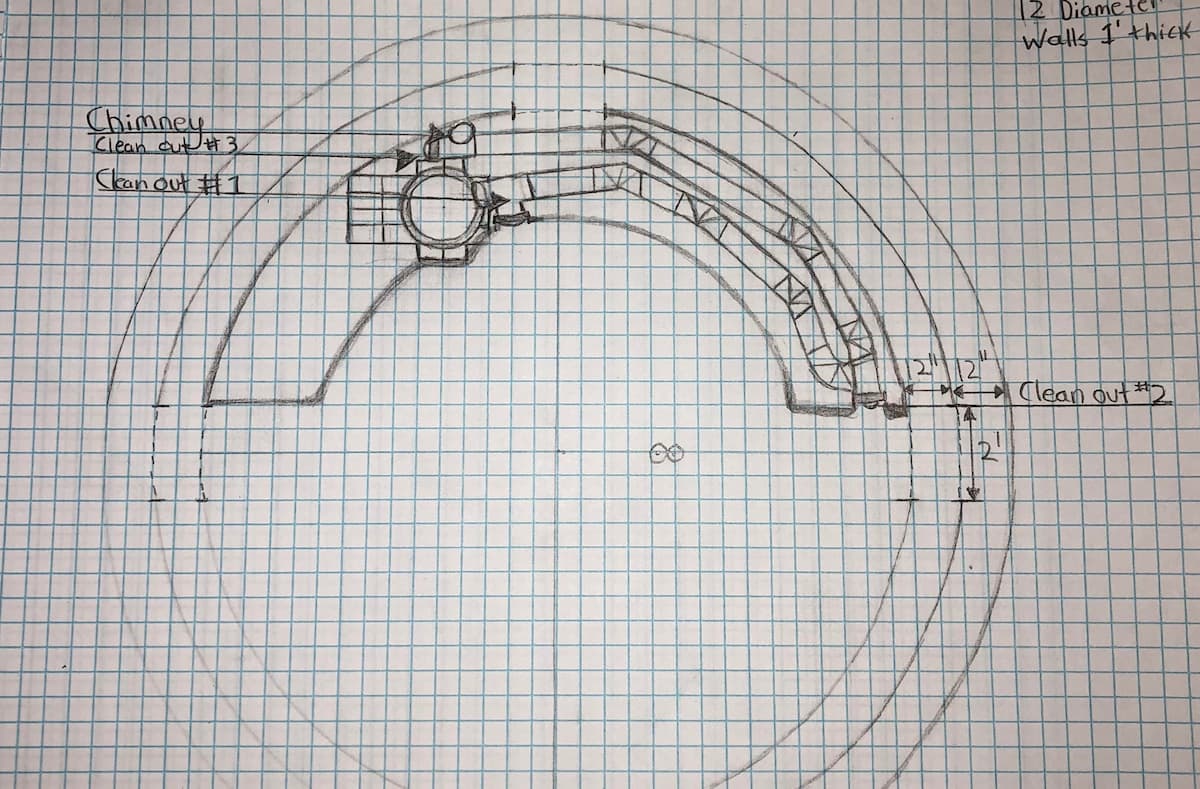
I drew a floor plan of the system, then made a mock-up of the core to see roughly where the chimney would exit.
02Chimney
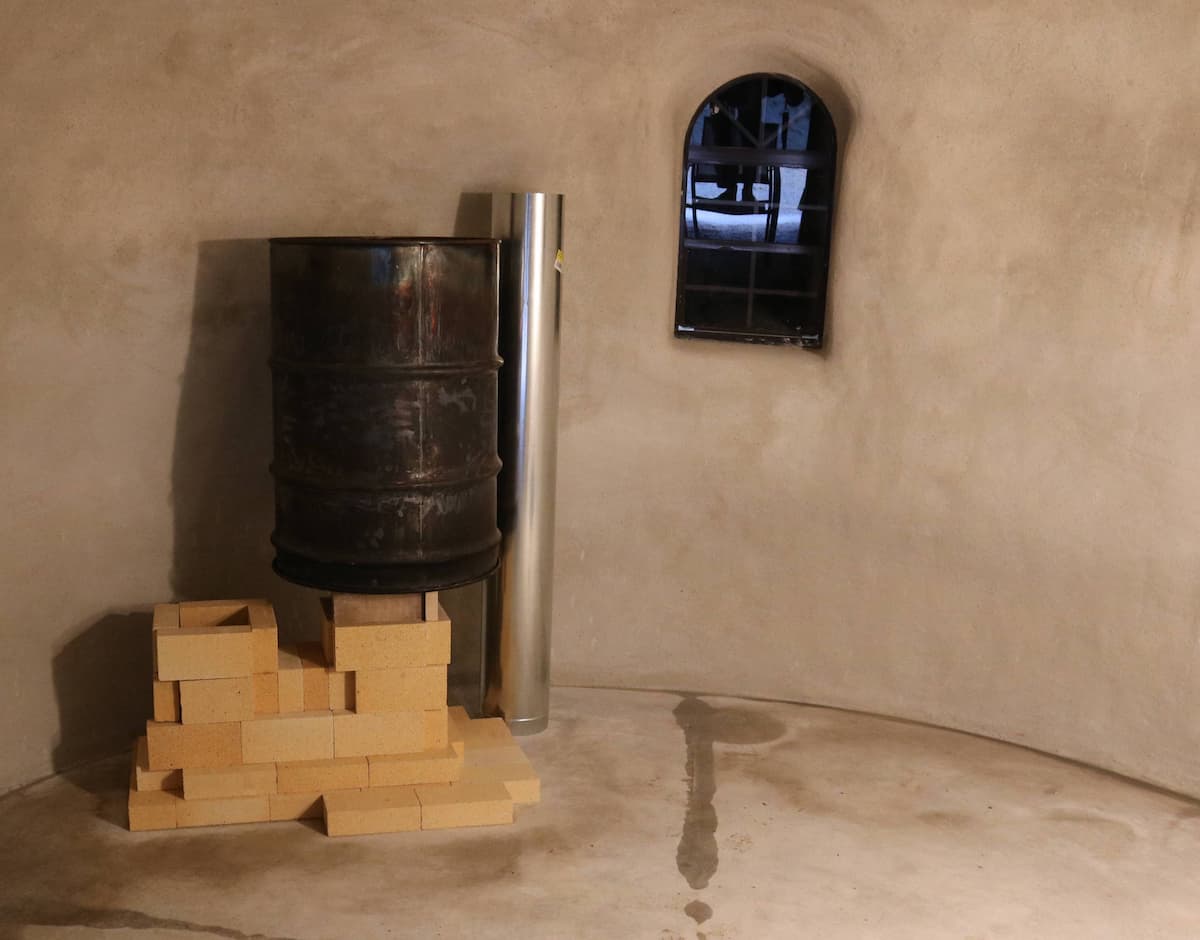
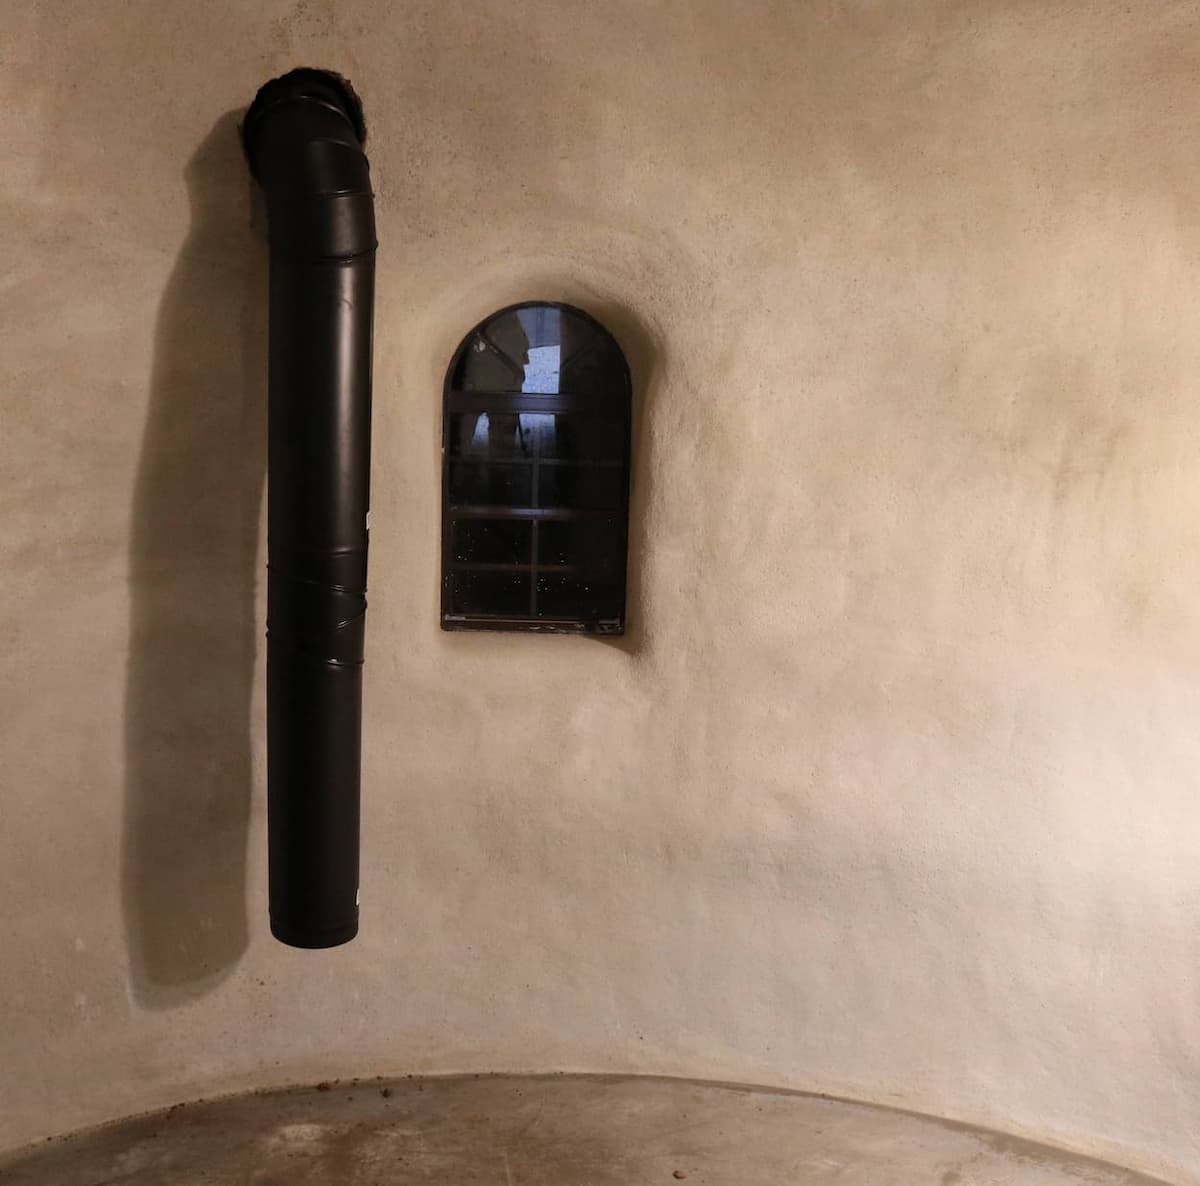
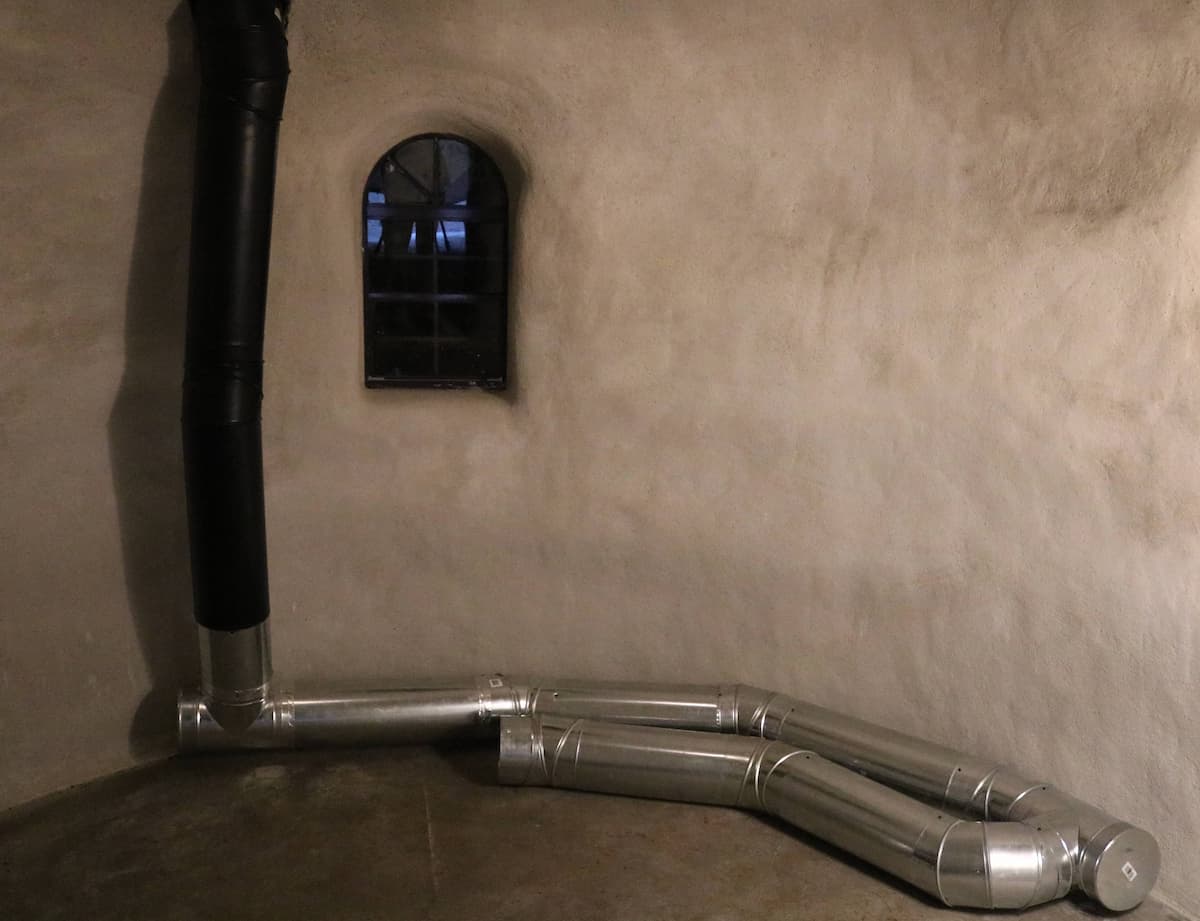
I carved a hole for the chimney with a hammer and chisel, then measured, cut and assembled the stovepipe.
03The core
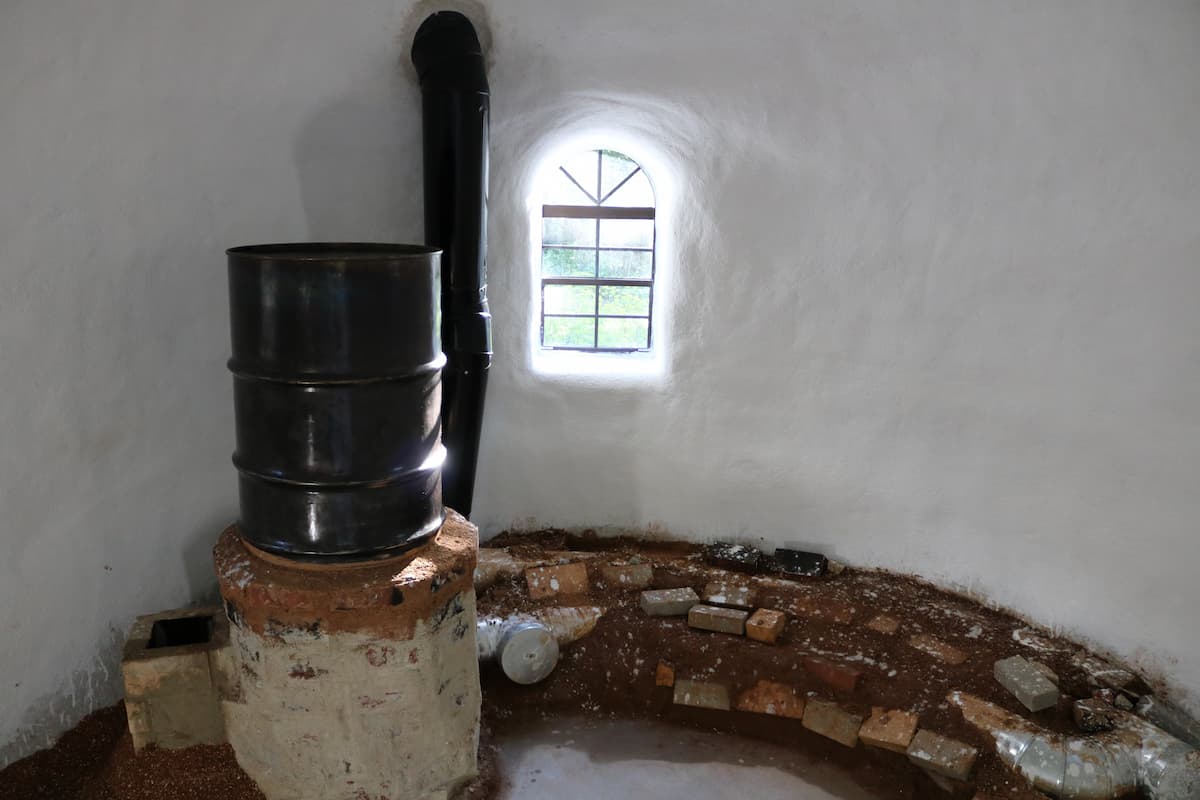
The concrete floor is essentially a massive heat sink, so I built an elevated buffer of aluminum and perlite between it and the stovepipe to keep heat from bleeding into the ground.
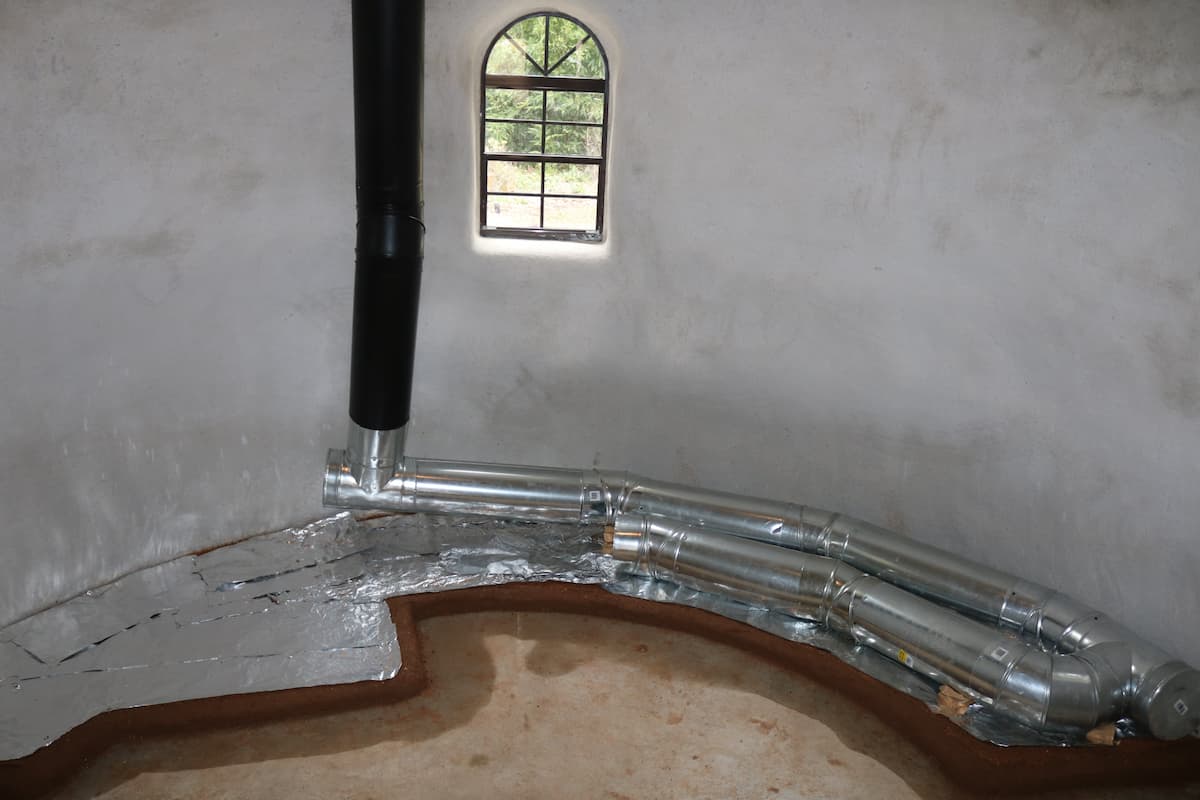
I dry-fit the core without mortar first, to double-check every measurement before committing.
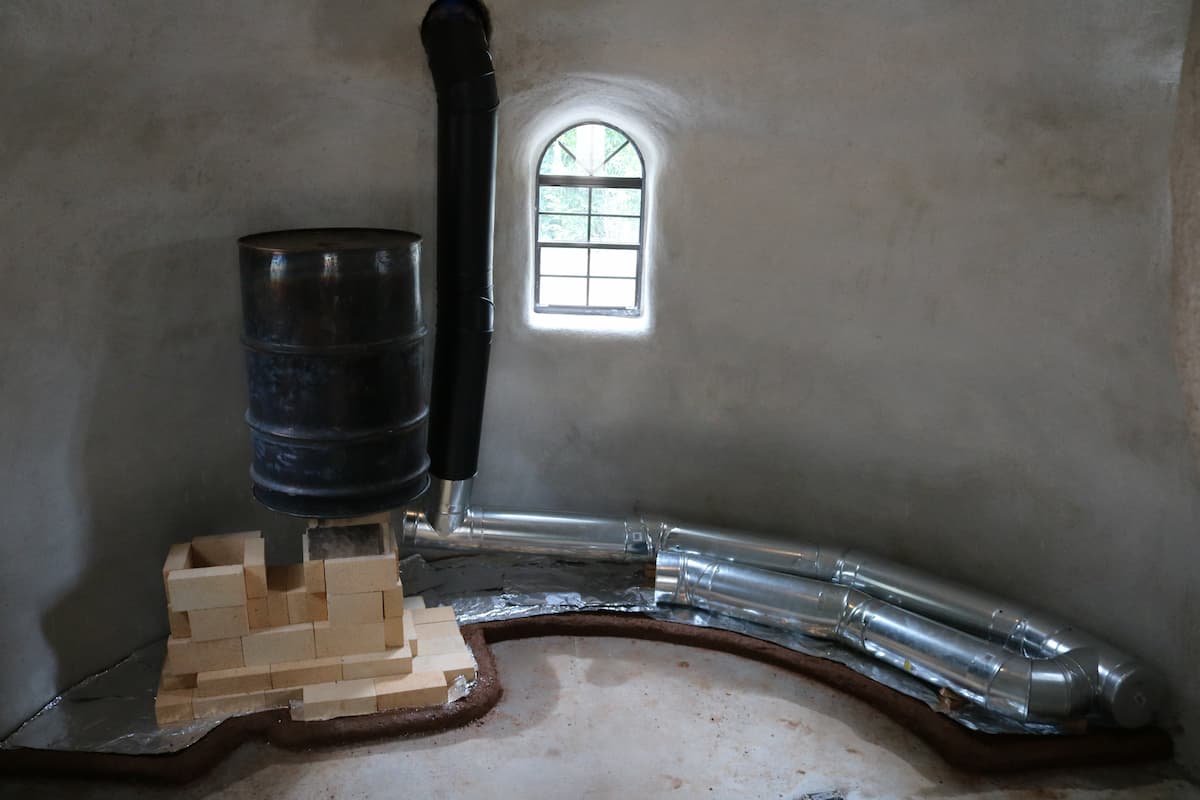
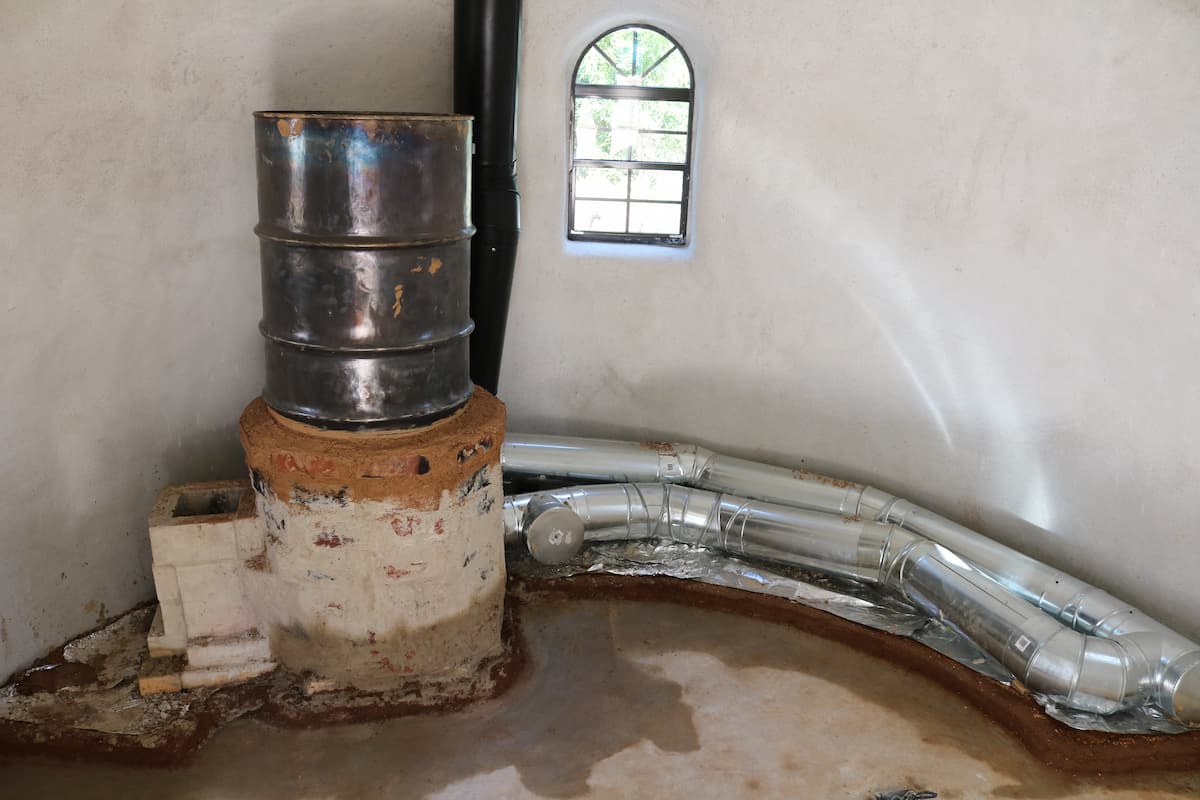
With everything lined up, I mortared the bricks together and built an octagonal manifold beneath the barrel so the exhaust gases flow through and into the stovepipe.
04Thermal-mass bench
Every empty space was filled with whatever thermal mass I could find — broken bricks, old concrete, rocks. That mass absorbs the heat moving through the stovepipe and holds onto it, making a warm bench to sit on. I rendered it with an earthen mix I made, and the rough bench took shape.
05Finishing
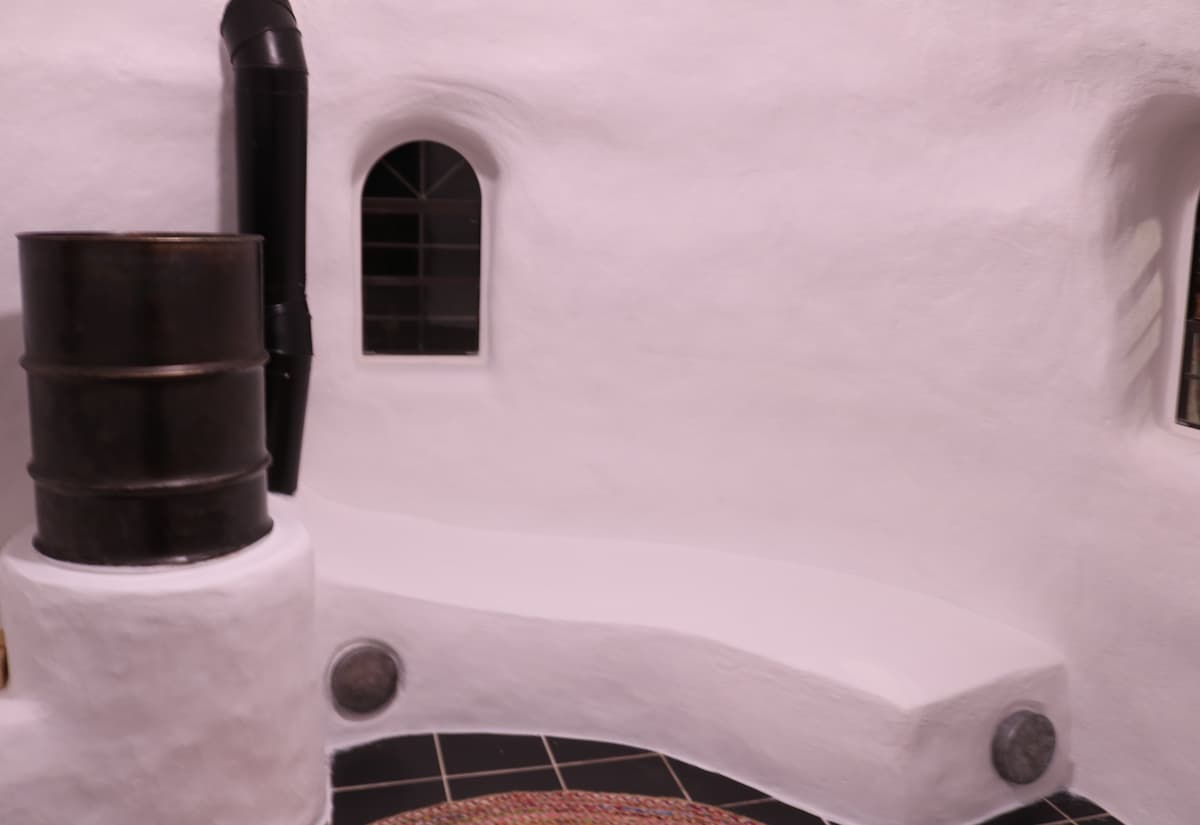
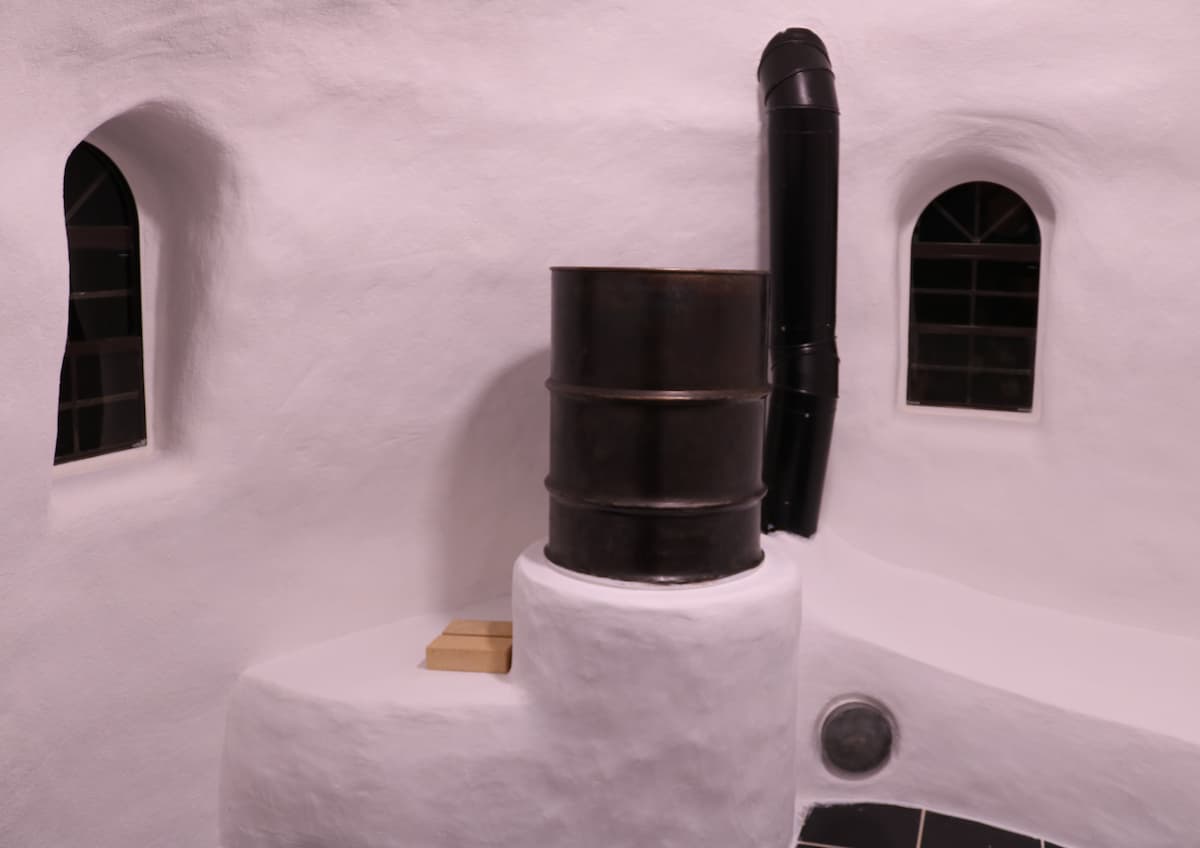
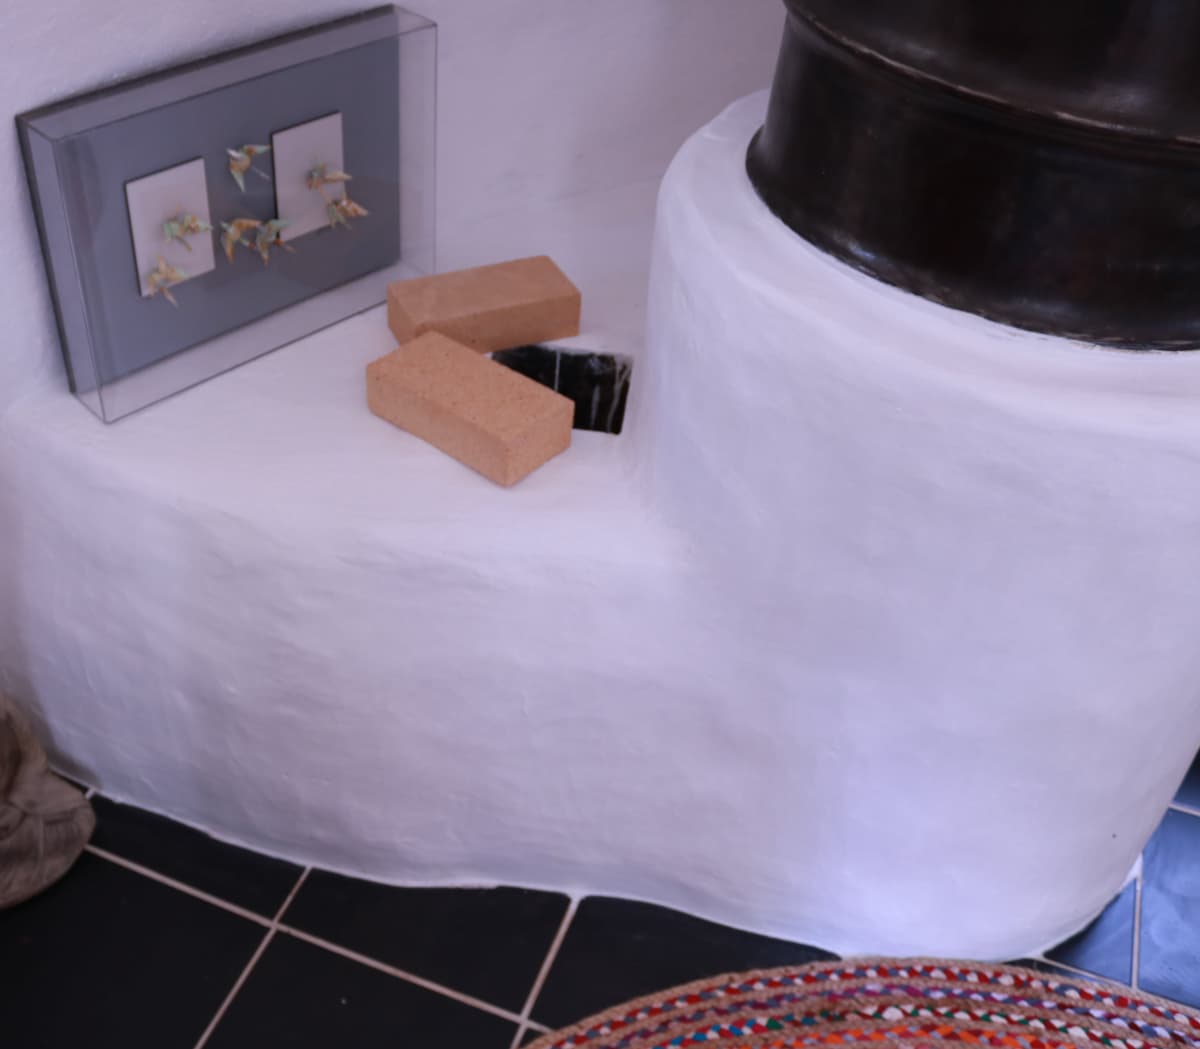
I refined the bench with many layers of lime plaster, limewashed the bench and walls, and painstakingly cut and laid black tile for the floor.
06How it works
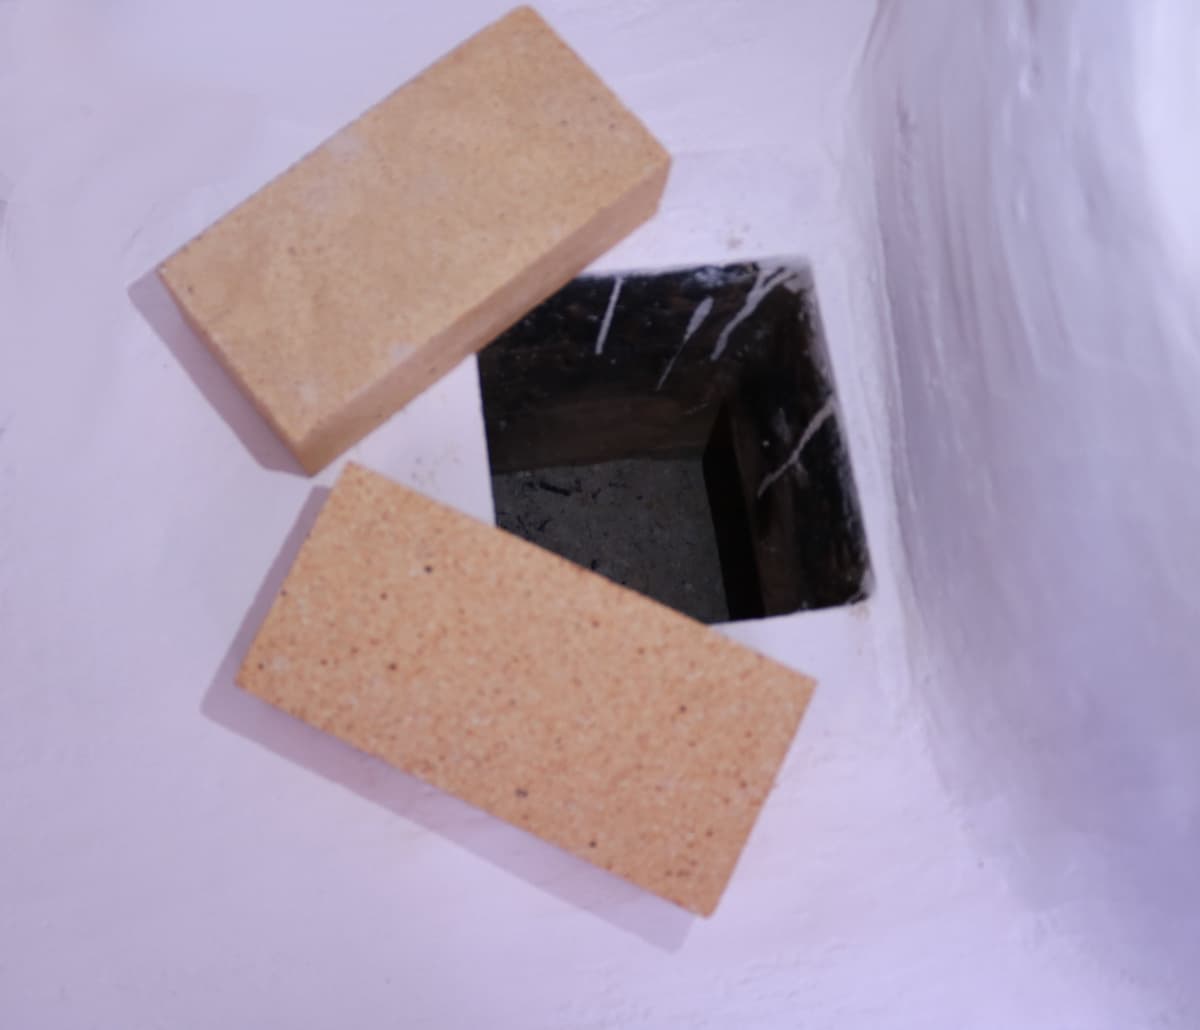
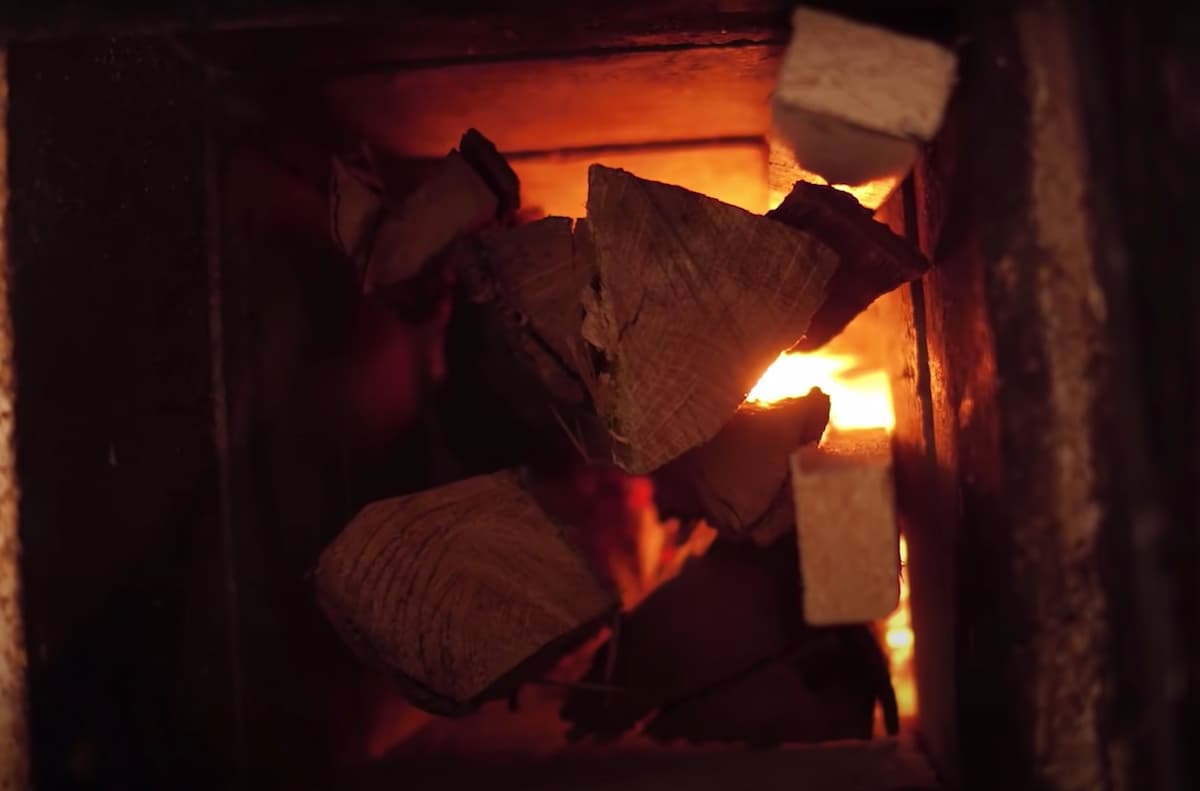
The proportions of the system create a draft that pulls the flame sideways into the barrel. The smoke combusts in the barrel, then travels through the rest of the system, where most of its heat is extracted and stored in the bench. What leaves the chimney is a little water vapor, and it’s barely lukewarm.
✓The result
The stove has been low-maintenance with great results — abundant warmth for guests and a cozy ambiance in the dome.