01Design
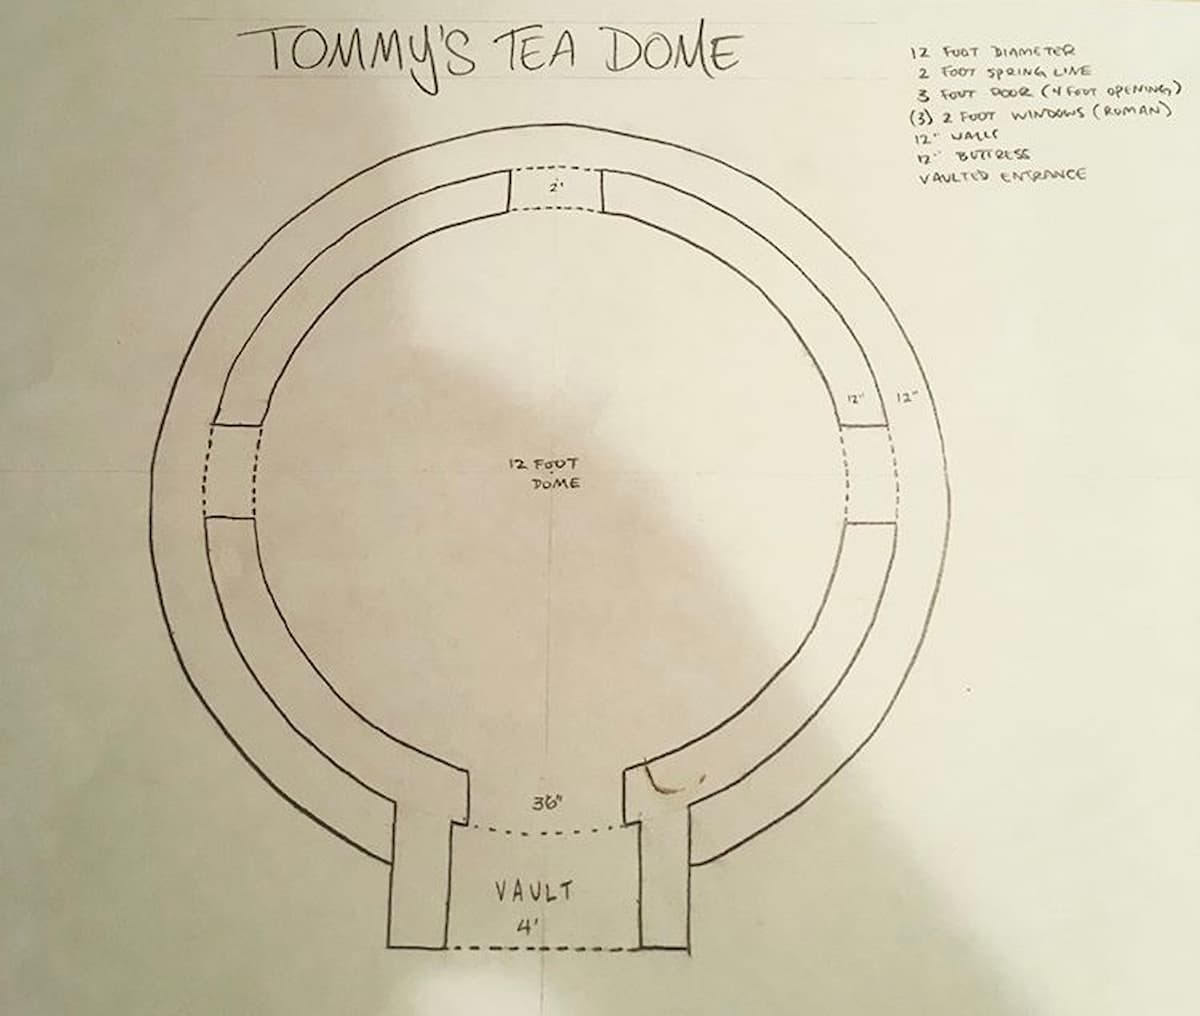
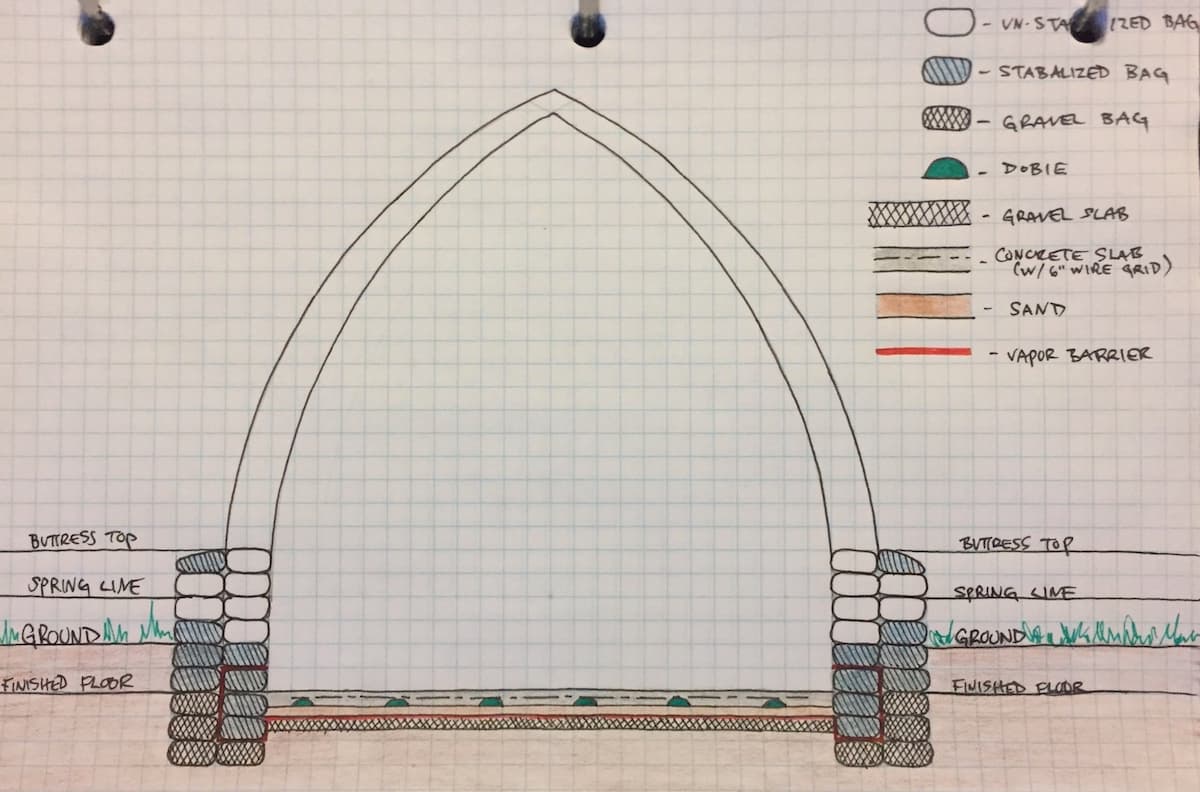
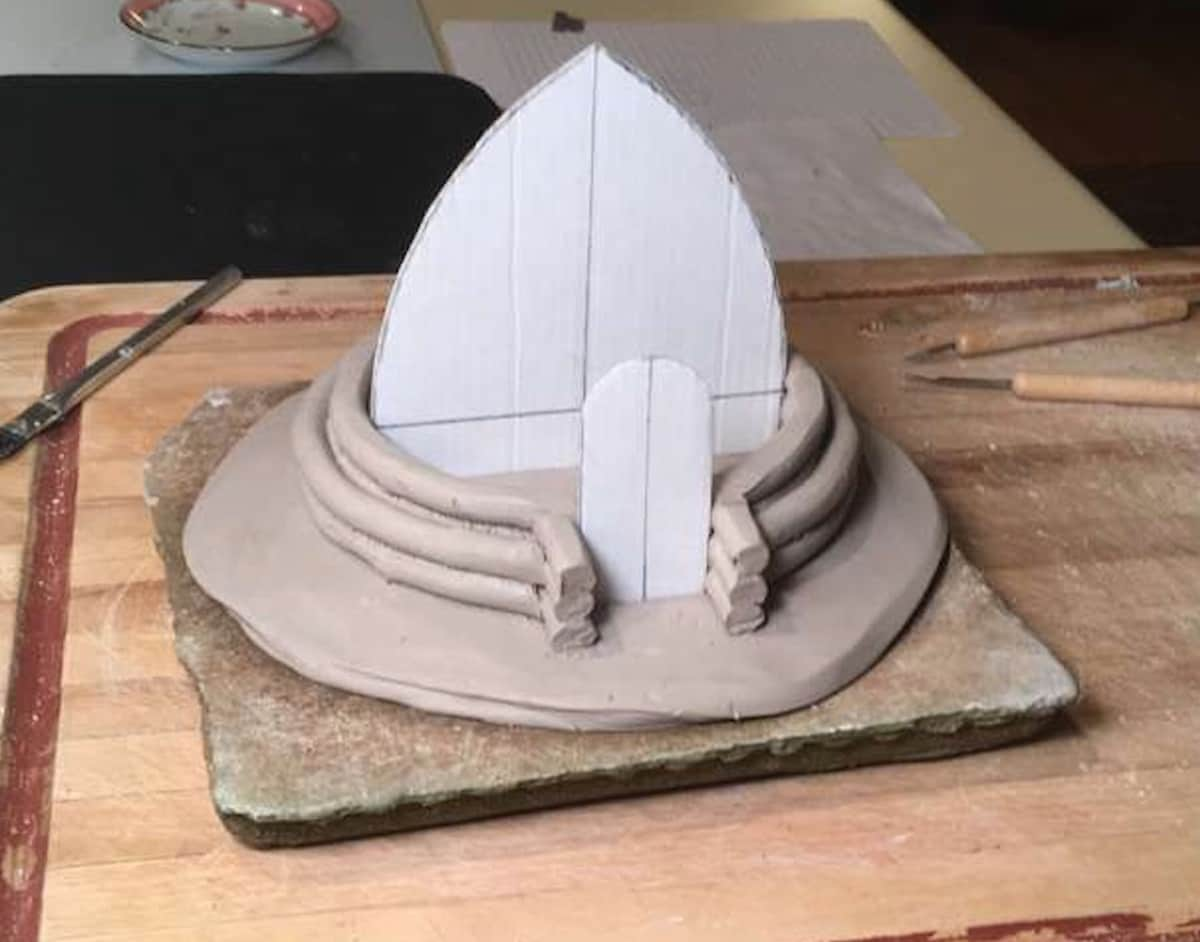
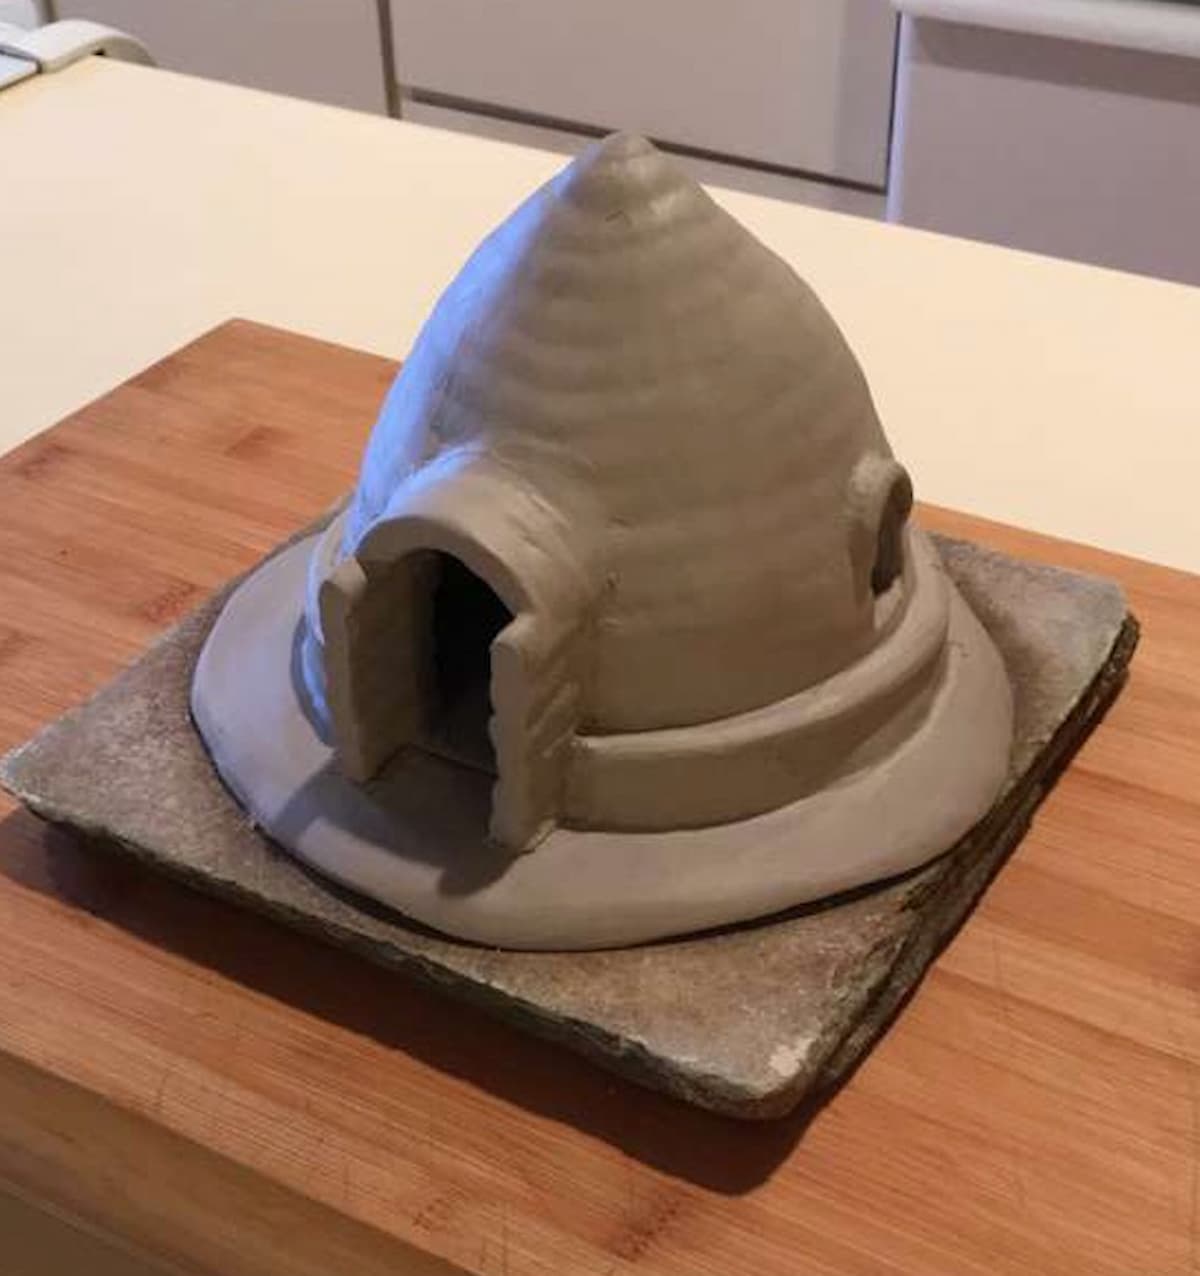
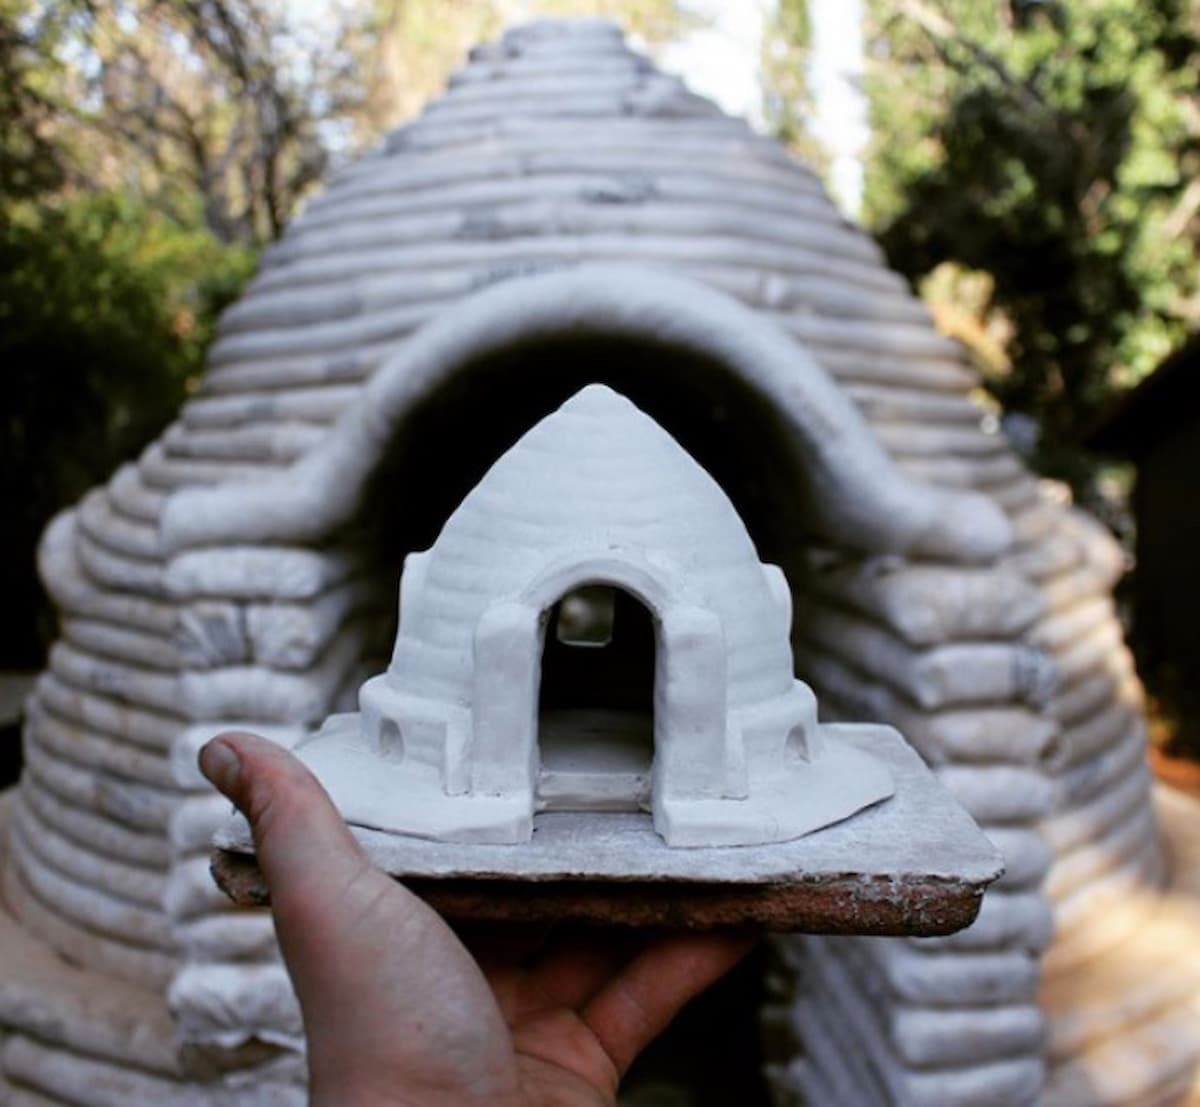
First, I drew a floor plan and a sectional view, and built a scaled-down model of the dome.
02Footing
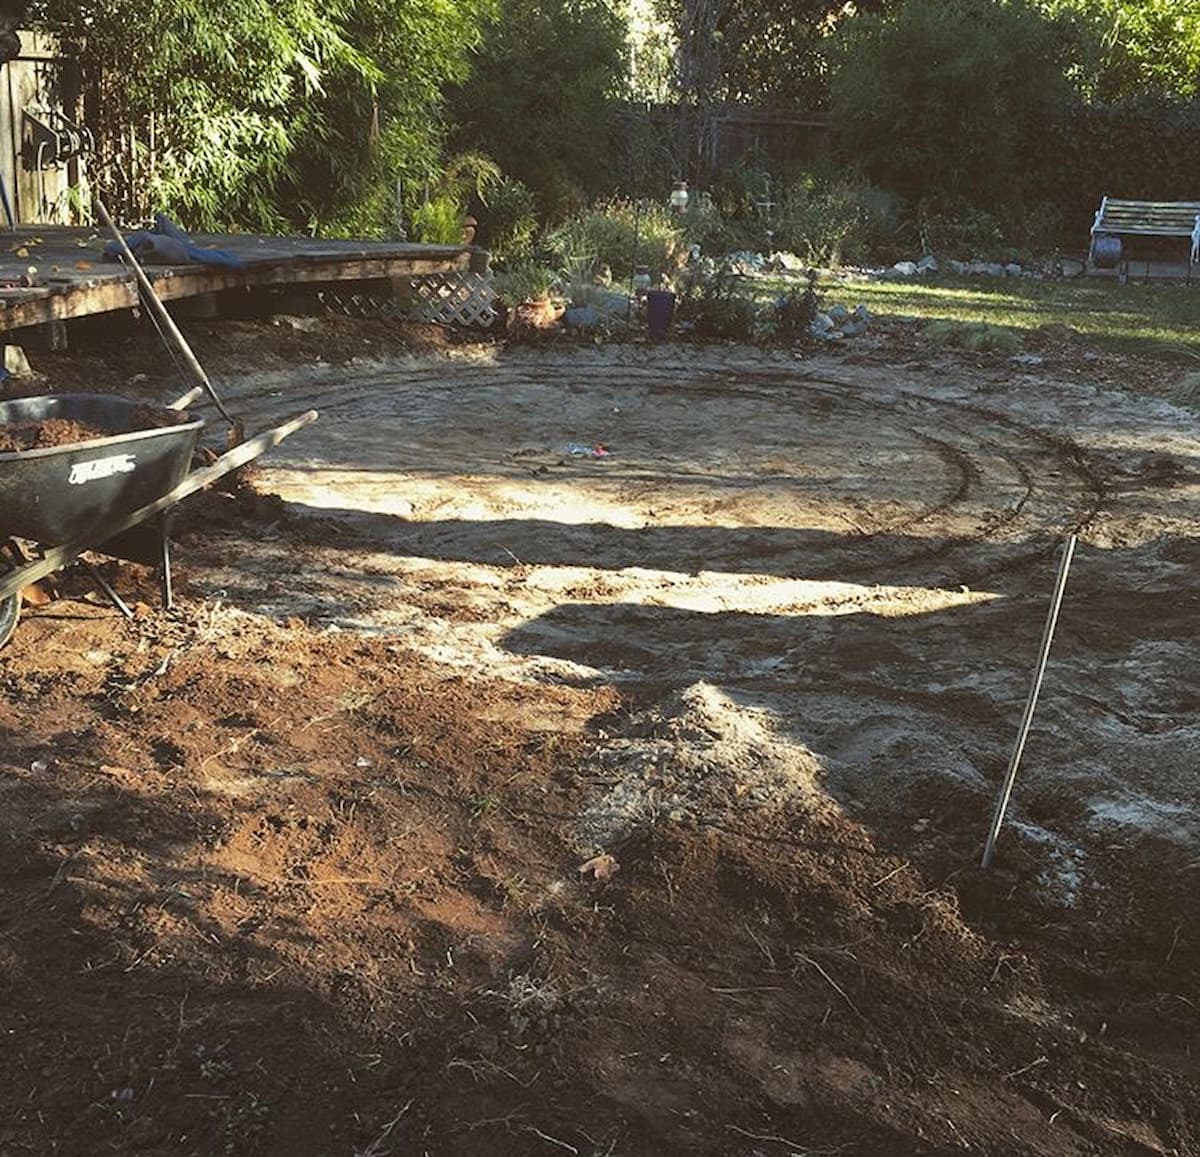
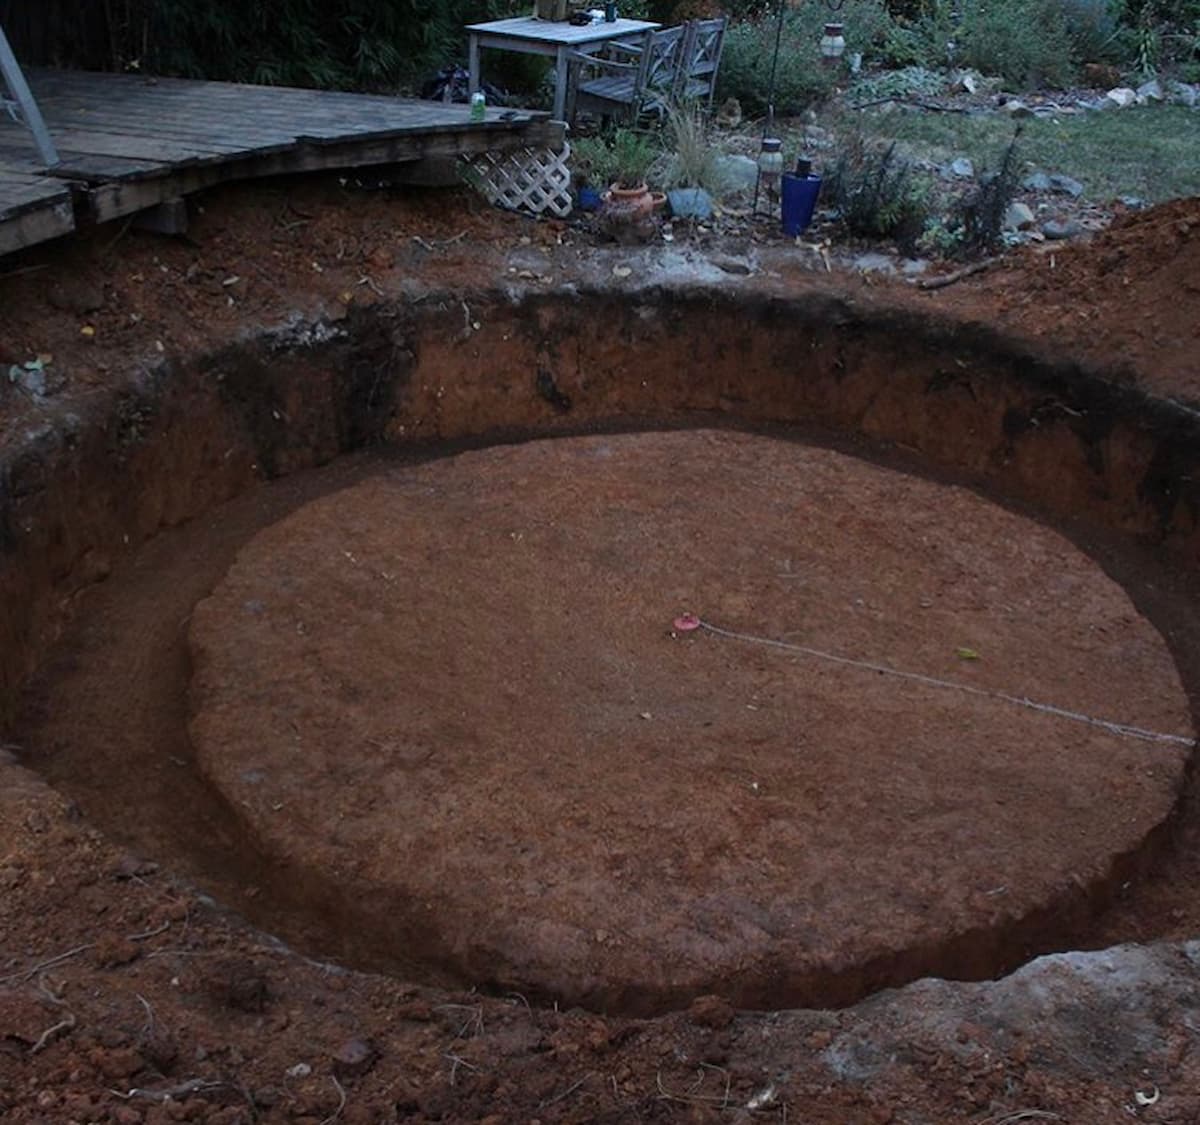
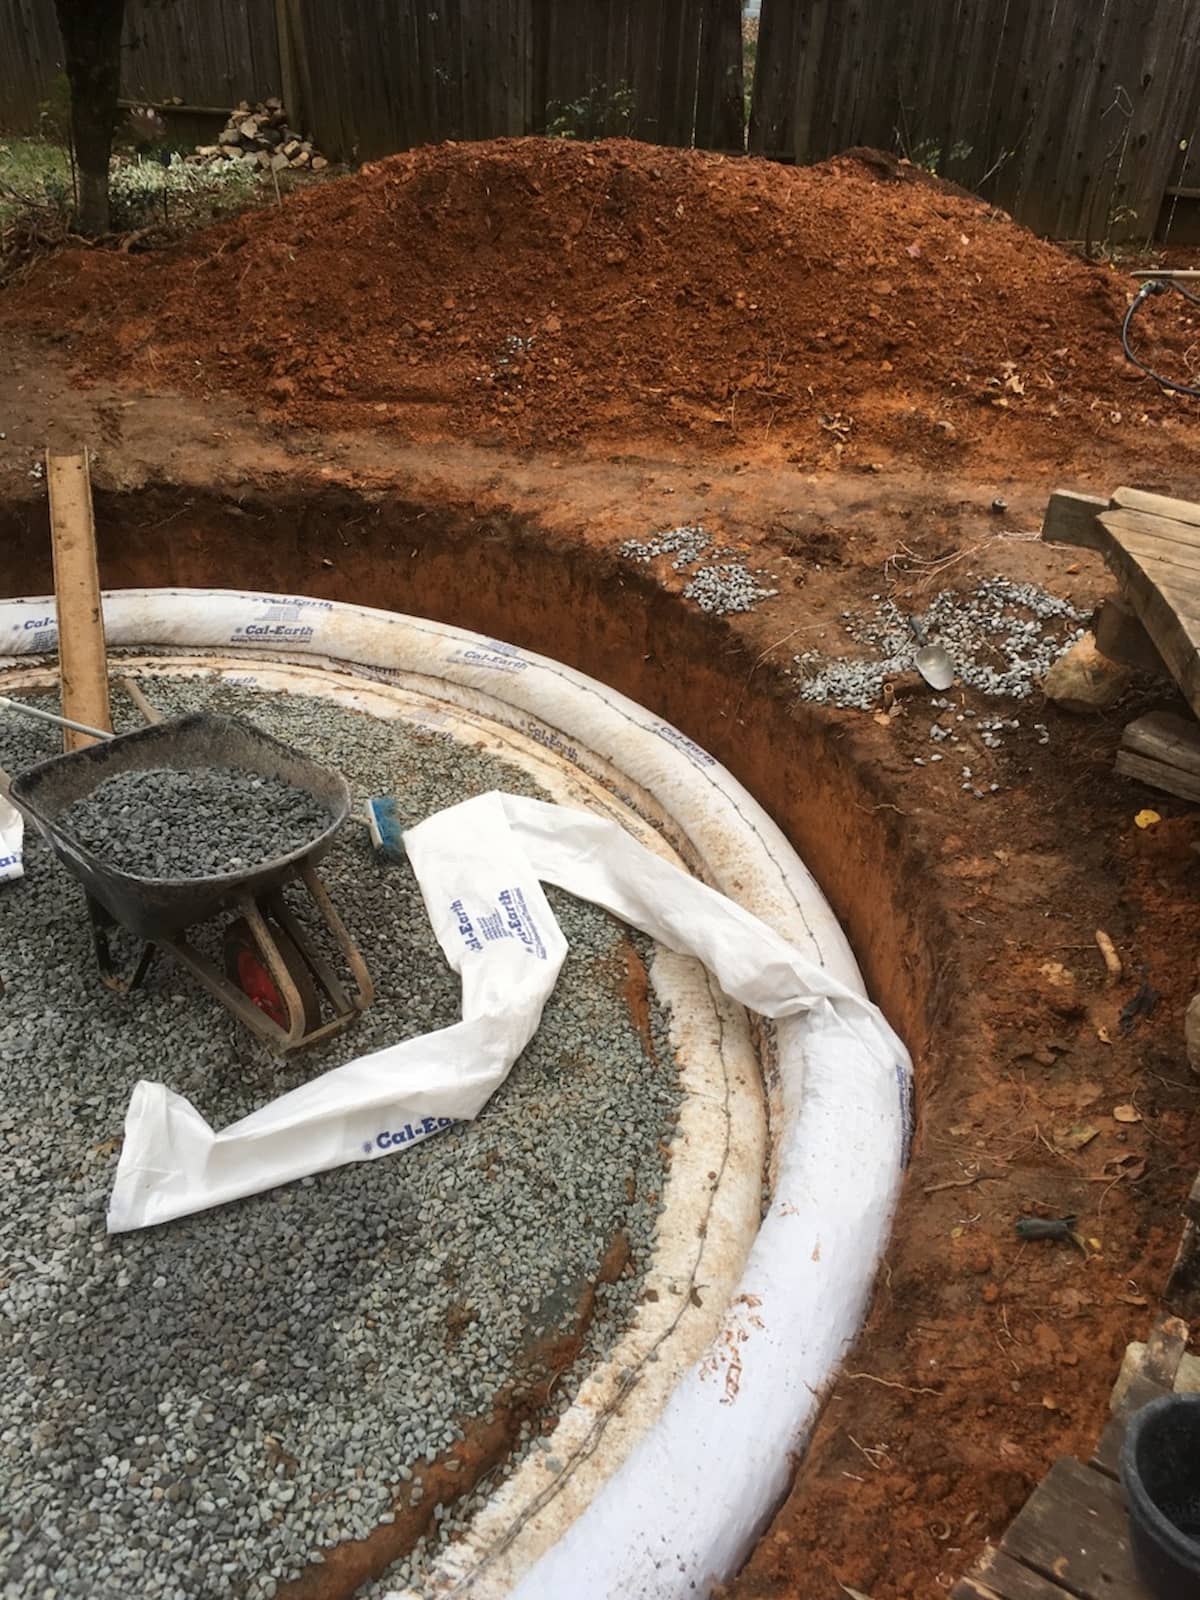
Then it was time to build the full-scale structure. The first step was to use a compass system to draw the footing of the dome and then dig it out.
03Earthbag walls
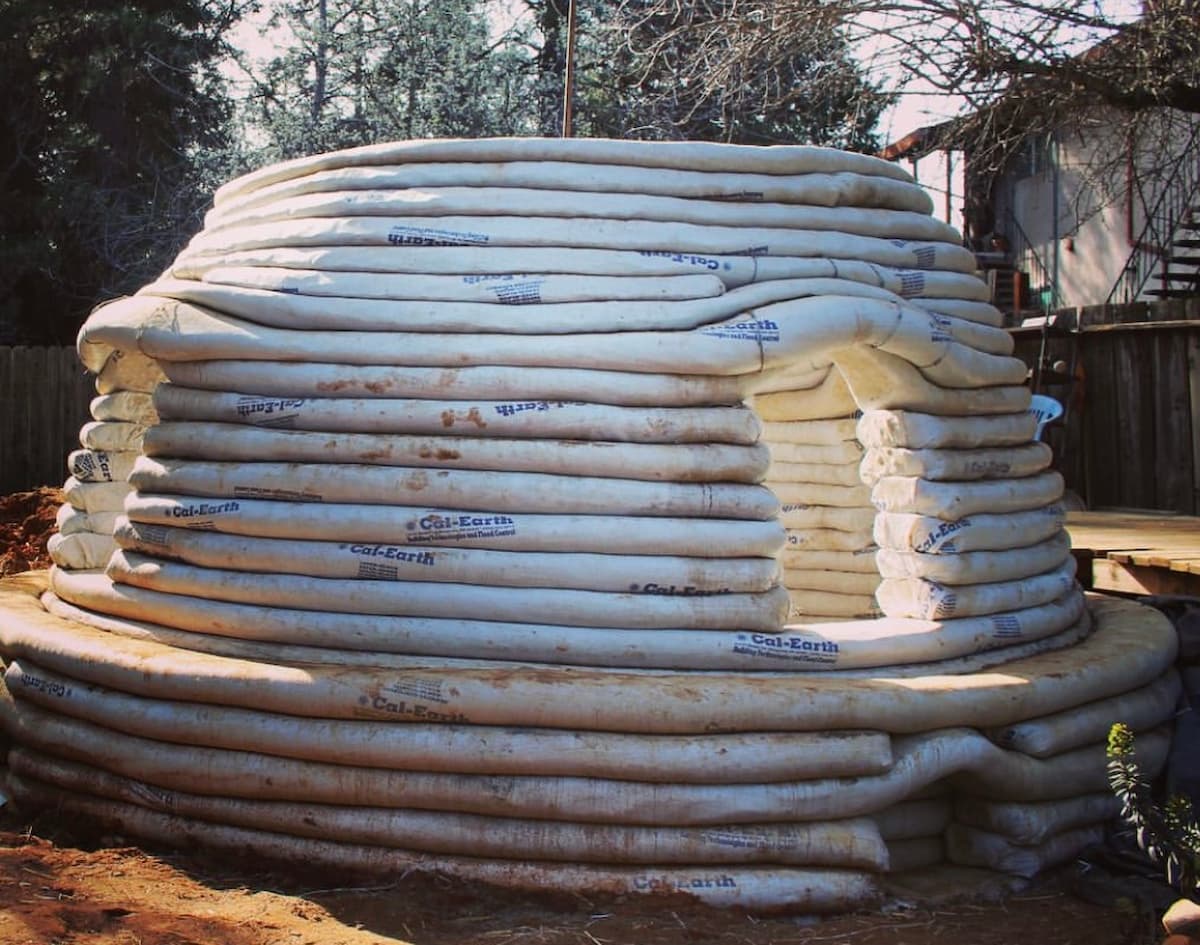
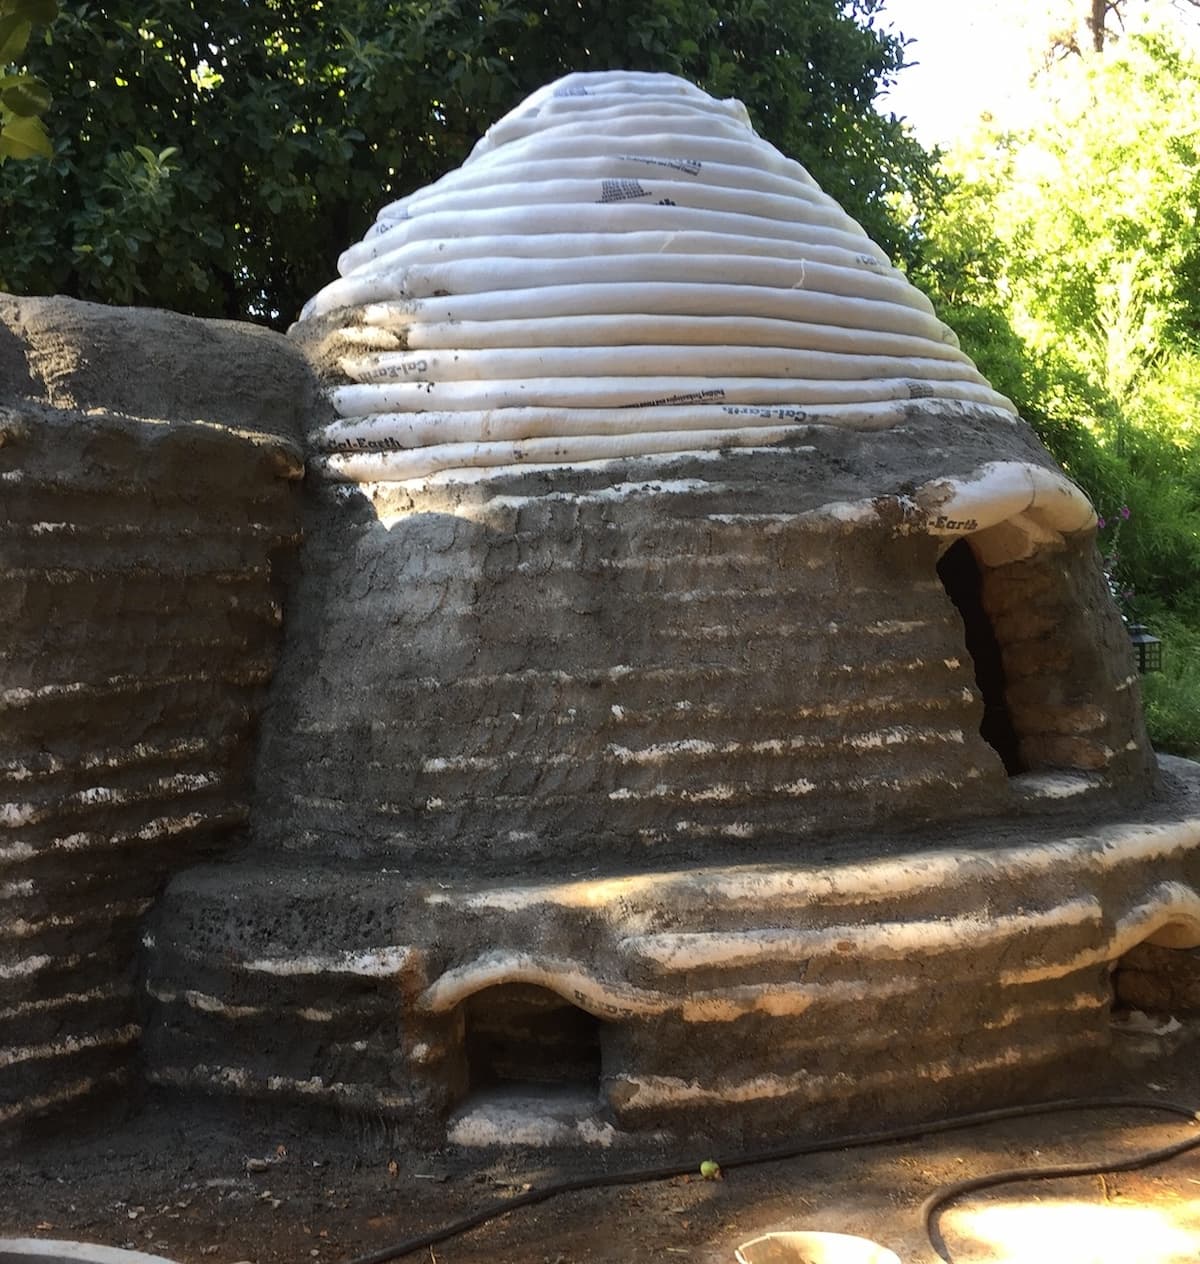
The construction method uses three main materials: polypropylene bags, barbed wire, and an earthen mix. The bags come on a continuous roll and can be cut to any length. Each layer is filled with a set ratio of clay and sand, then tamped flat with a cast-iron tamper. Bags are filled in place on the structure using small containers about the size of a coffee can. Barbed wire goes between each layer to provide friction as well as tensile strength.
The first few layers are filled with ¾-inch gravel so water doesn’t collect around the footing during the rainy season. Layers are then stacked and tamped flat, each one placed precisely according to the compass system.
04The compass
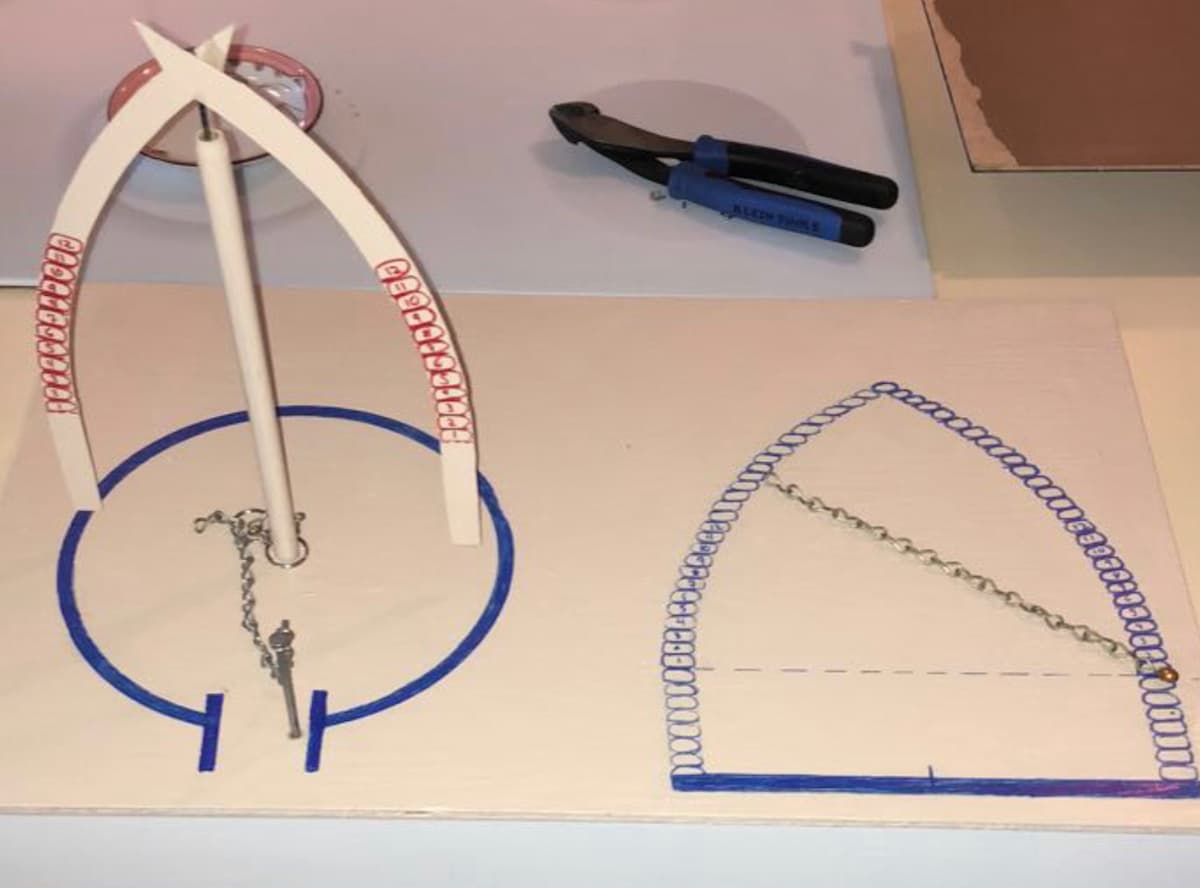
I built a model of the compass system to help people understand how the dome is geometrically conceived. The first few layers are exactly 12 feet in diameter — essentially a cylinder. A 6-foot chain attached to a pole at the center acts as a compass to keep every layer perfectly circular.
At a chosen layer, the circumference begins to shrink. How much it shrinks is dictated by the second compass on the right. That measurement is transferred to the center compass so it can sweep all 360°. The compass is recalibrated every layer until, ultimately, a dome is formed.
05Openings & arches
Temporary forms made from recycled materials are set into the walls. These are removed later to make way for windows and a door.
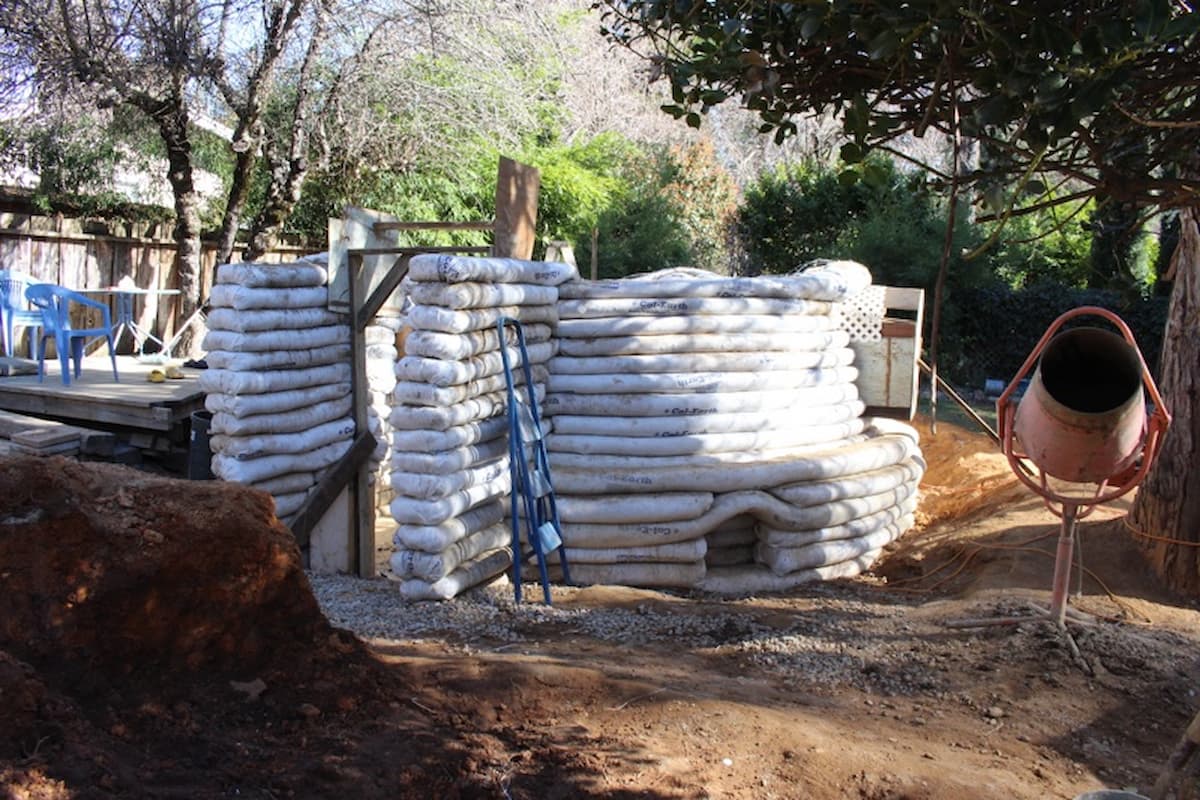
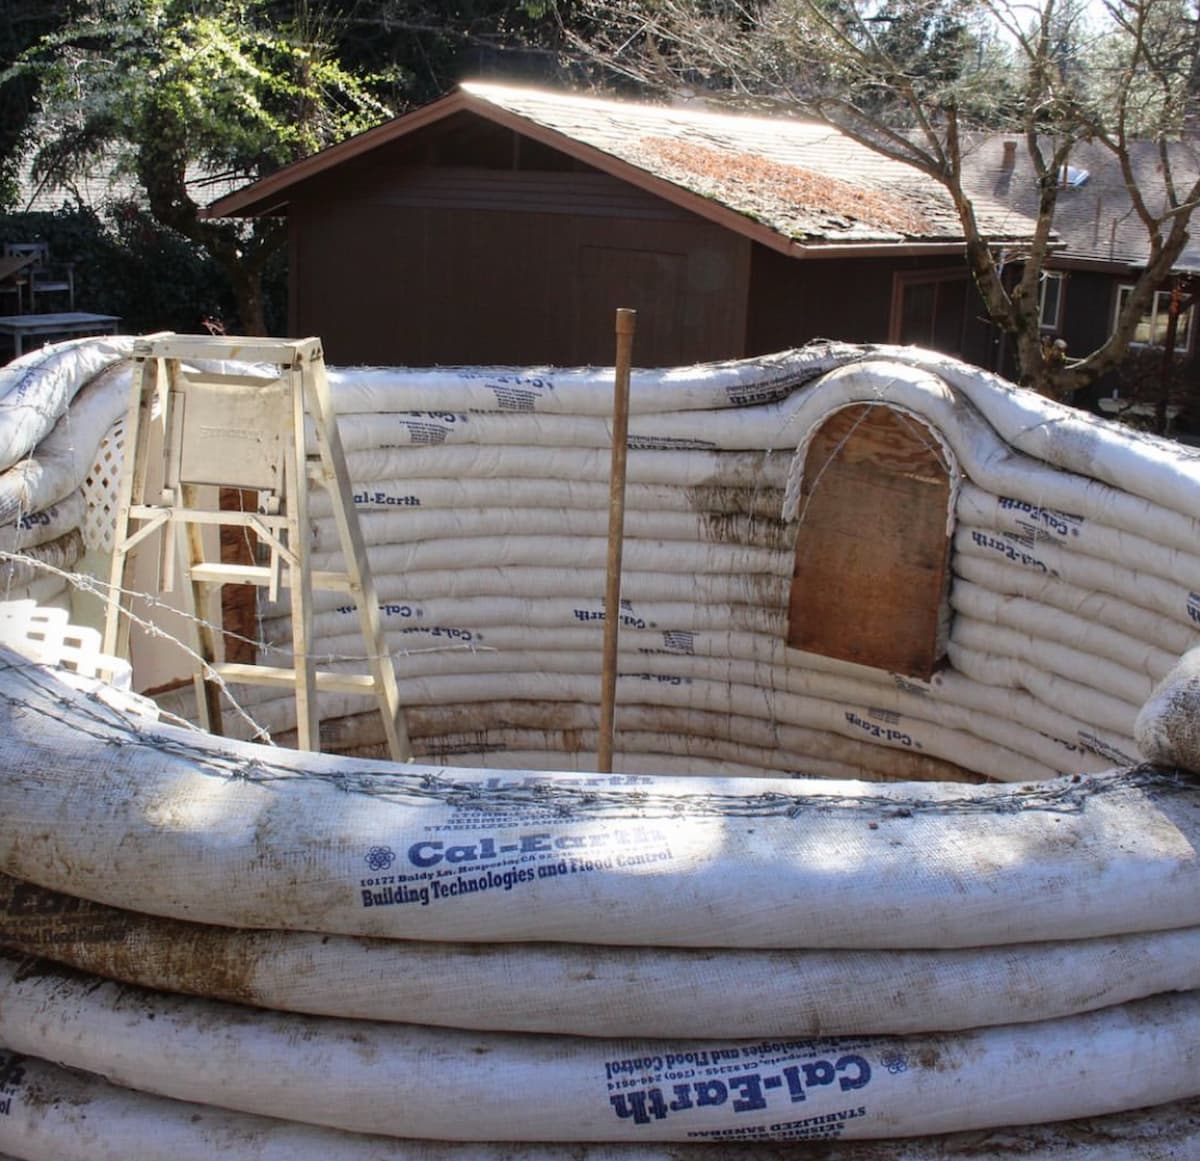
Around the openings only, the bags are filled with a cement-stabilized earthen mix, so permanent arches remain once the forms come out.
06Closing the shell
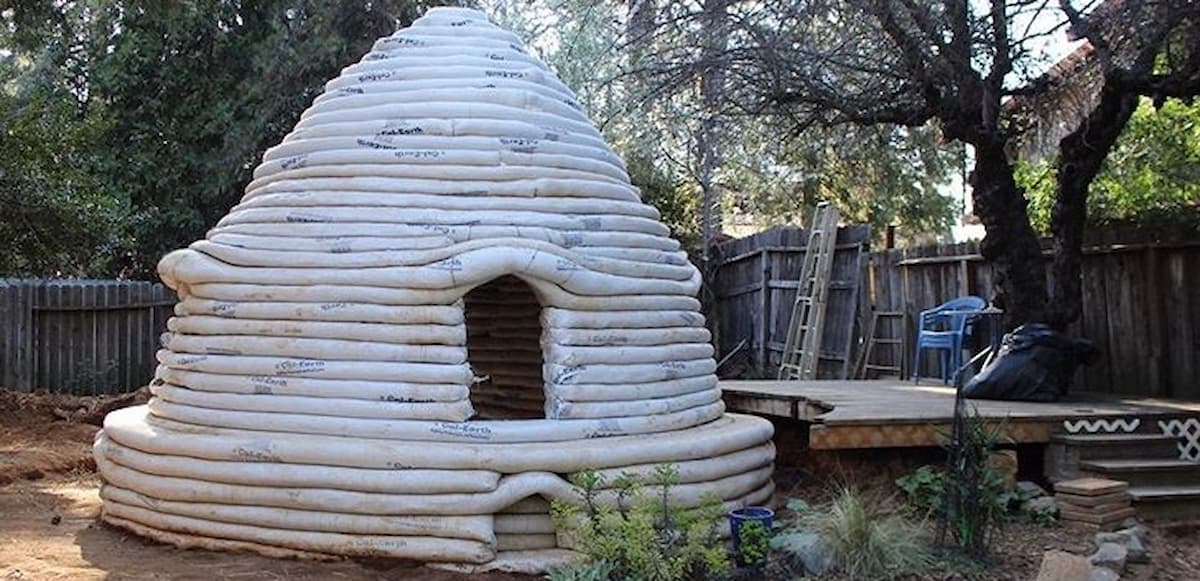
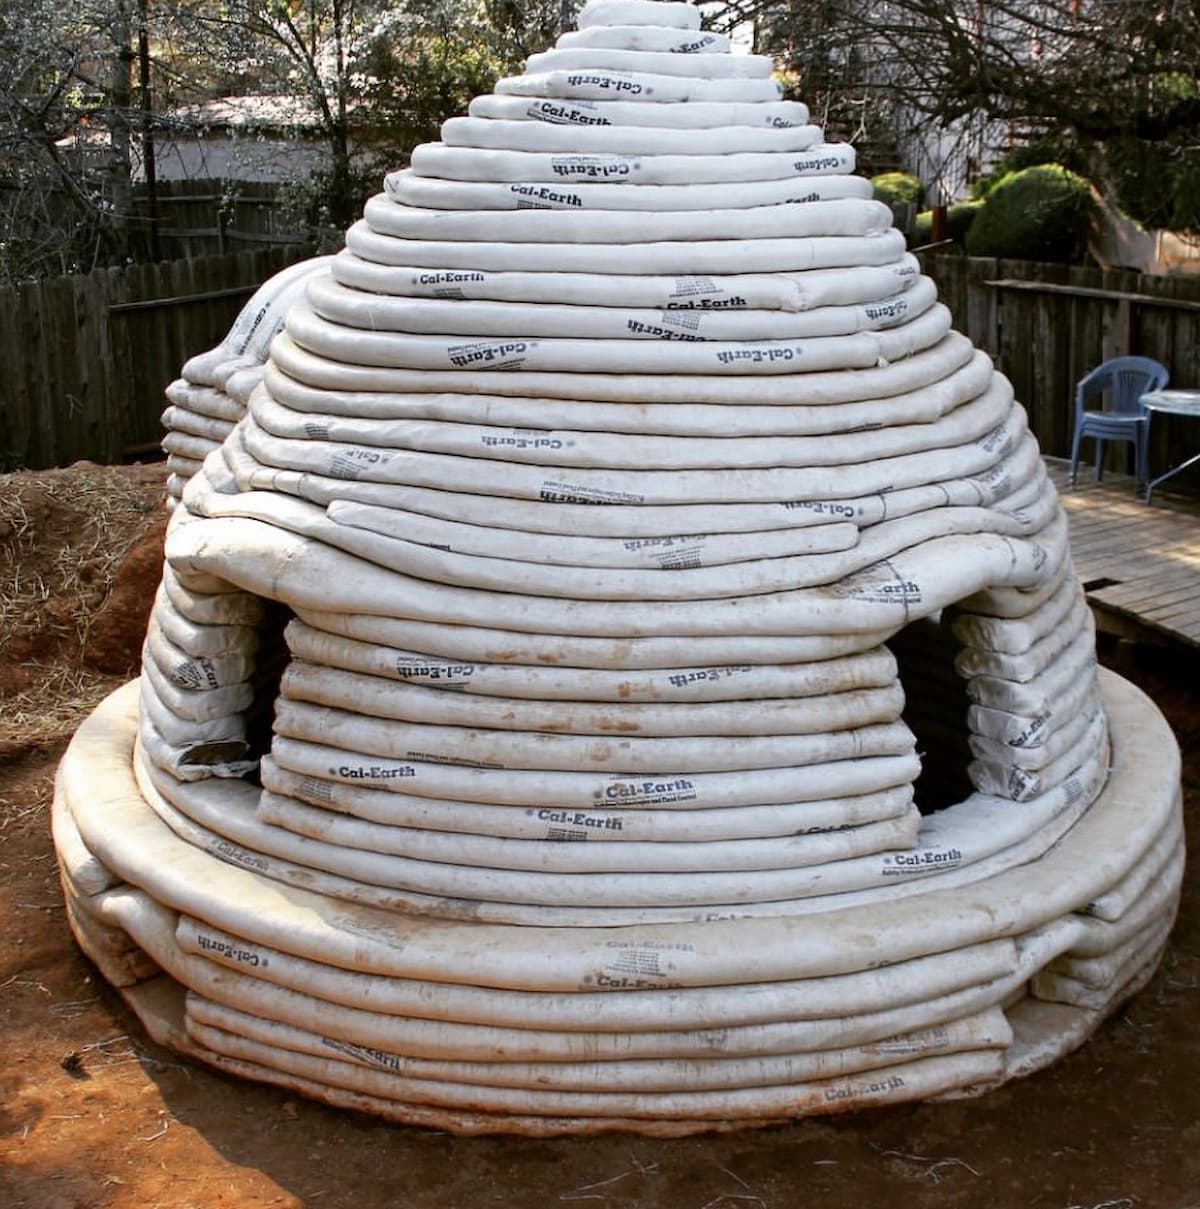
The final layers are filled and tamped flat, completing the shell of the structure.
07Exterior finish
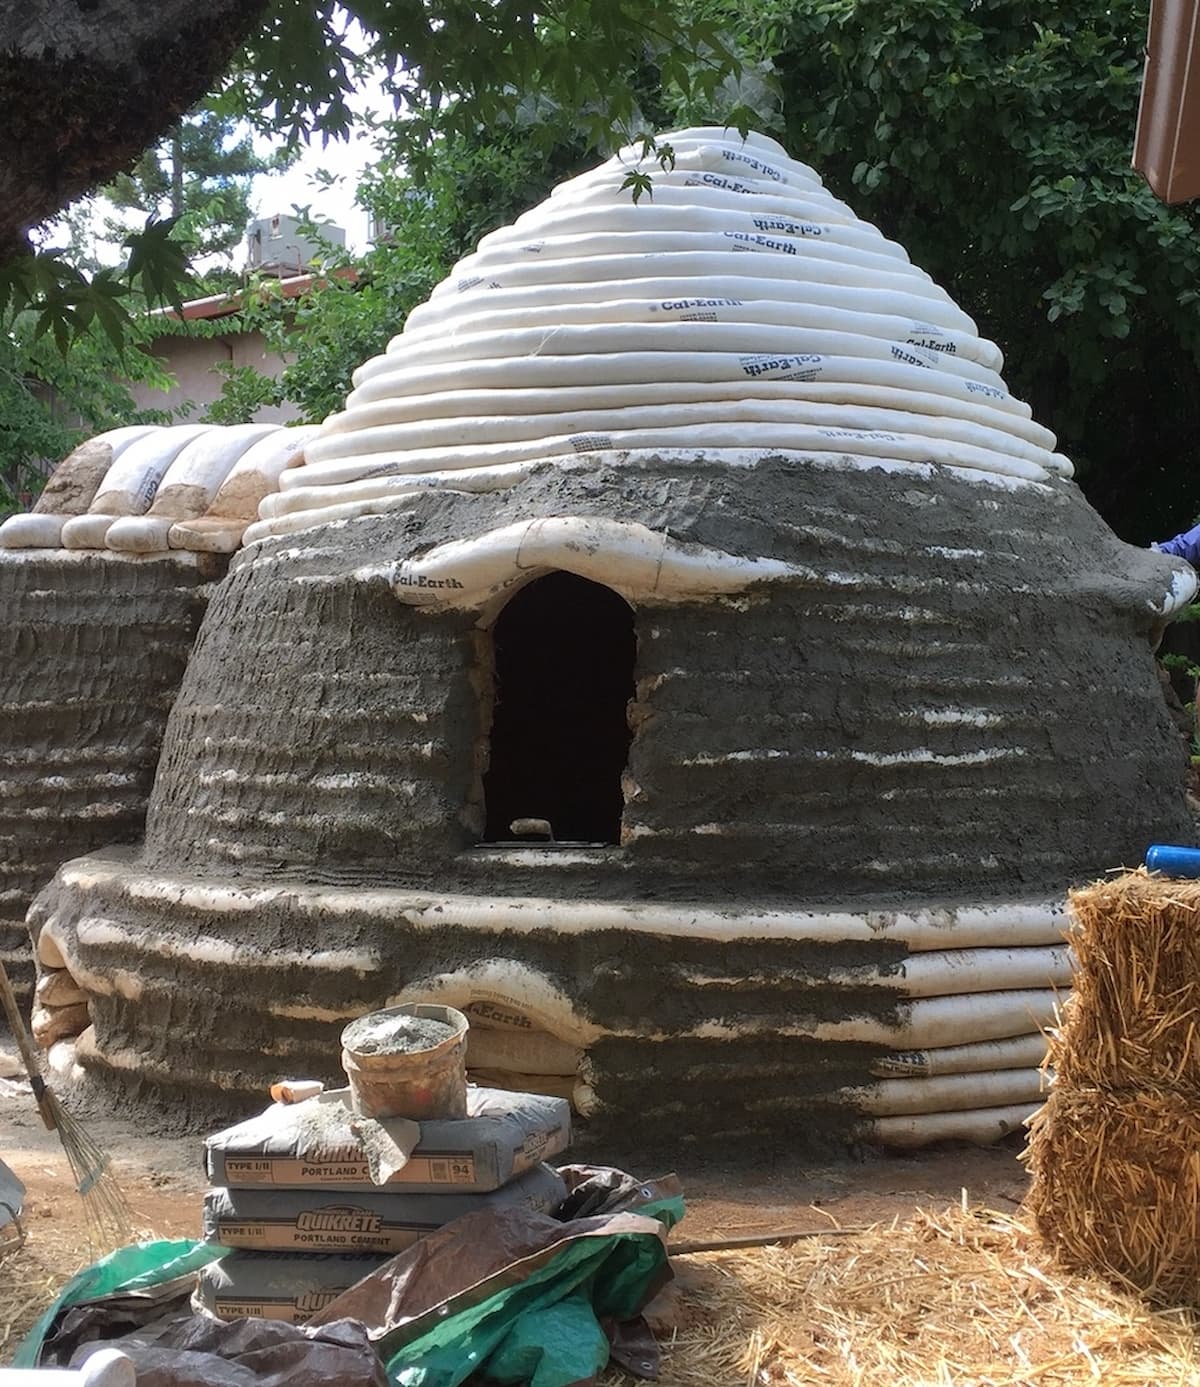
With the shell complete, the long stretch of finish work began — first a rough coat of cement-based plaster, then a smooth second coat.
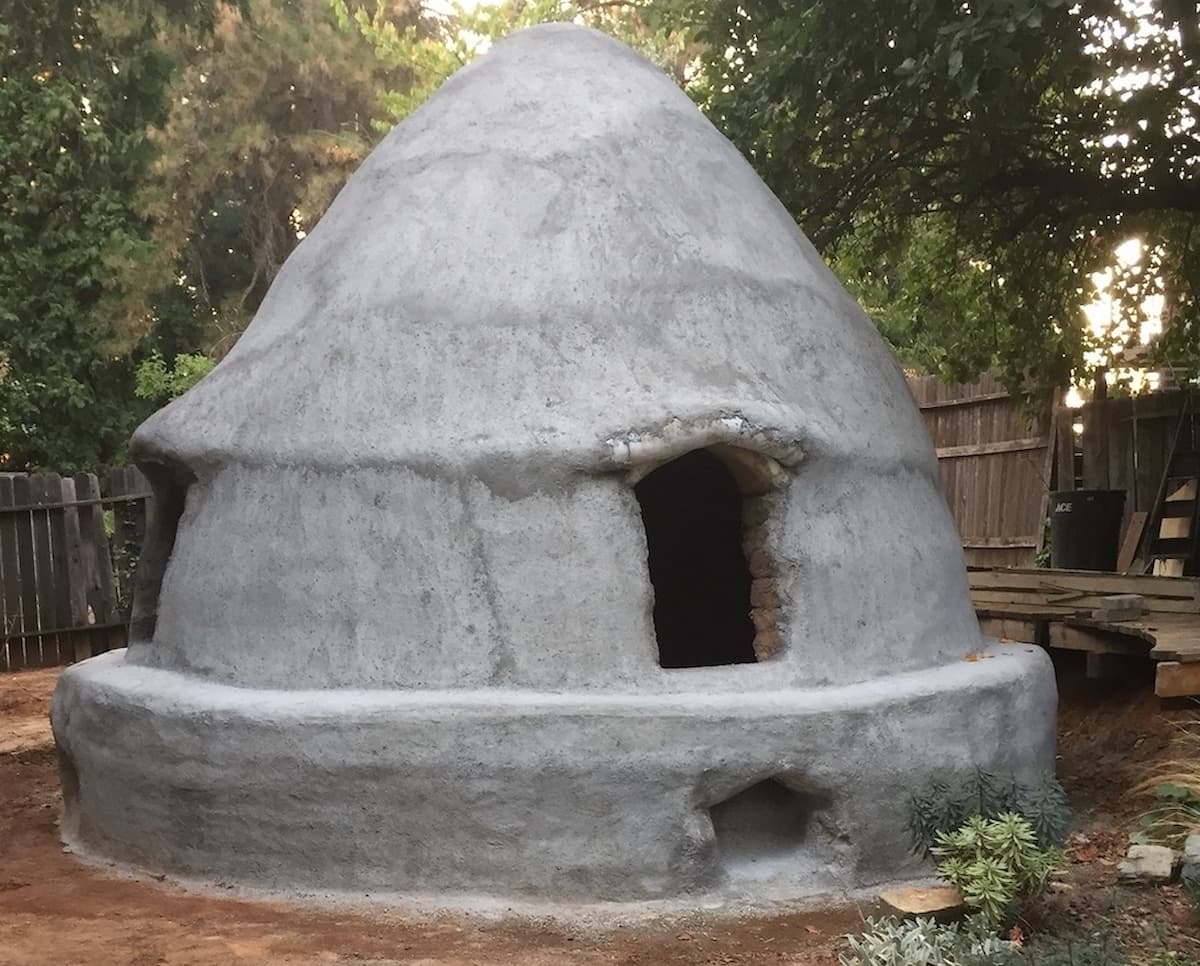
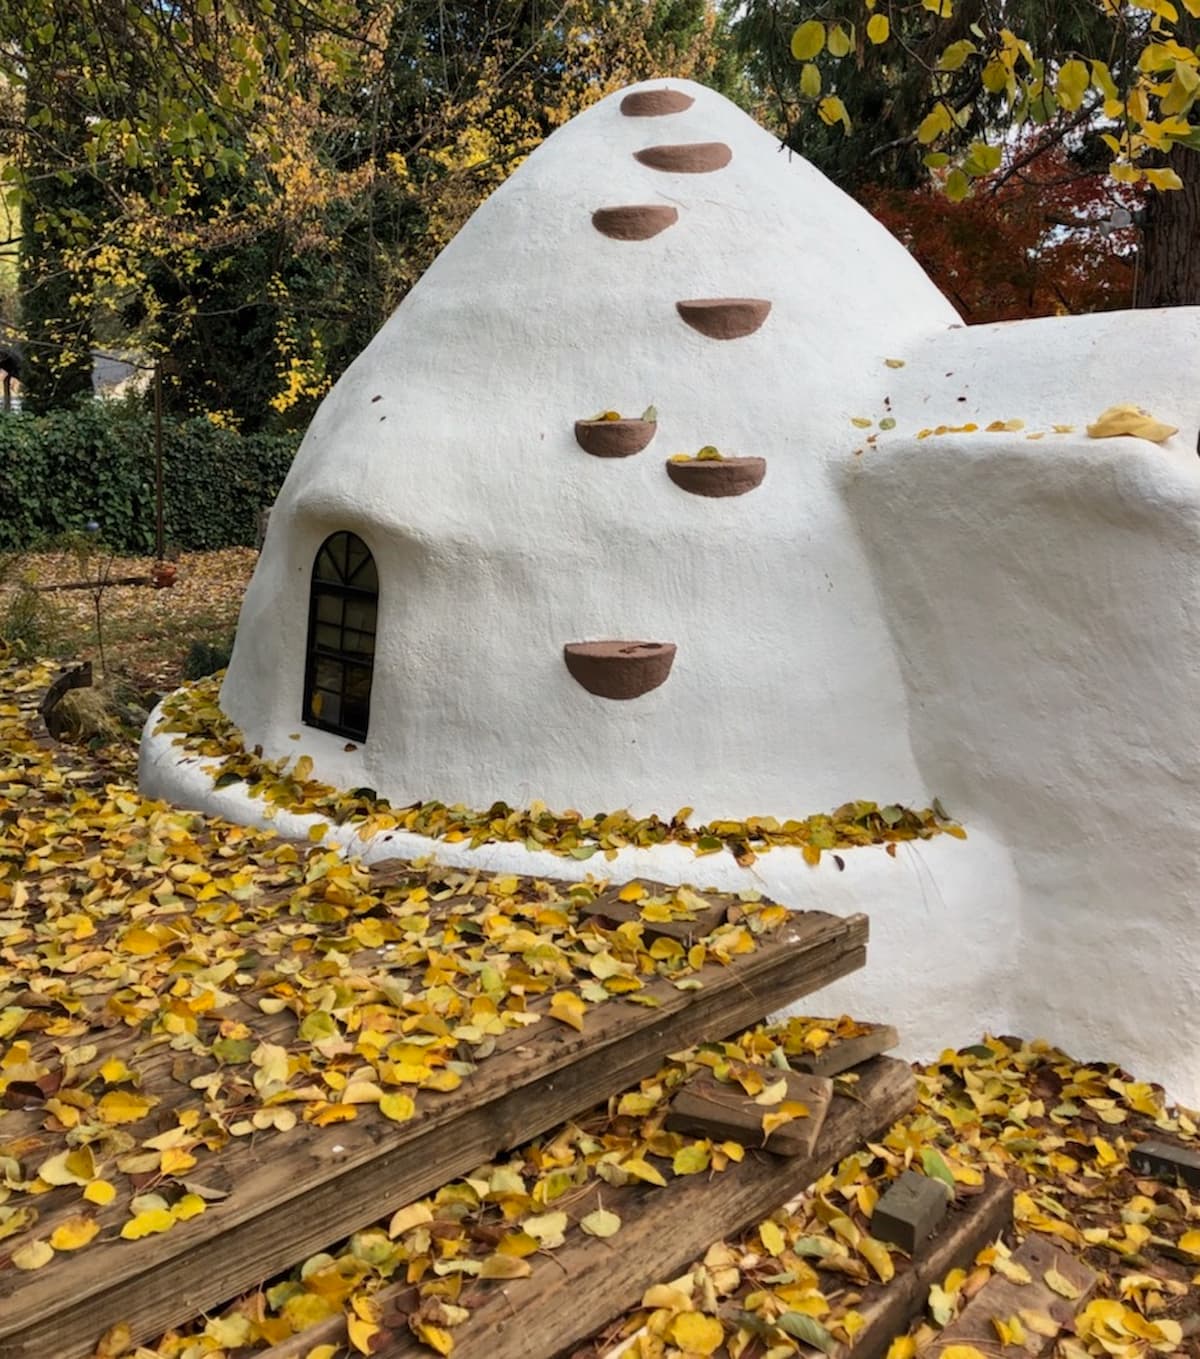
I also added steps up the side of the dome.
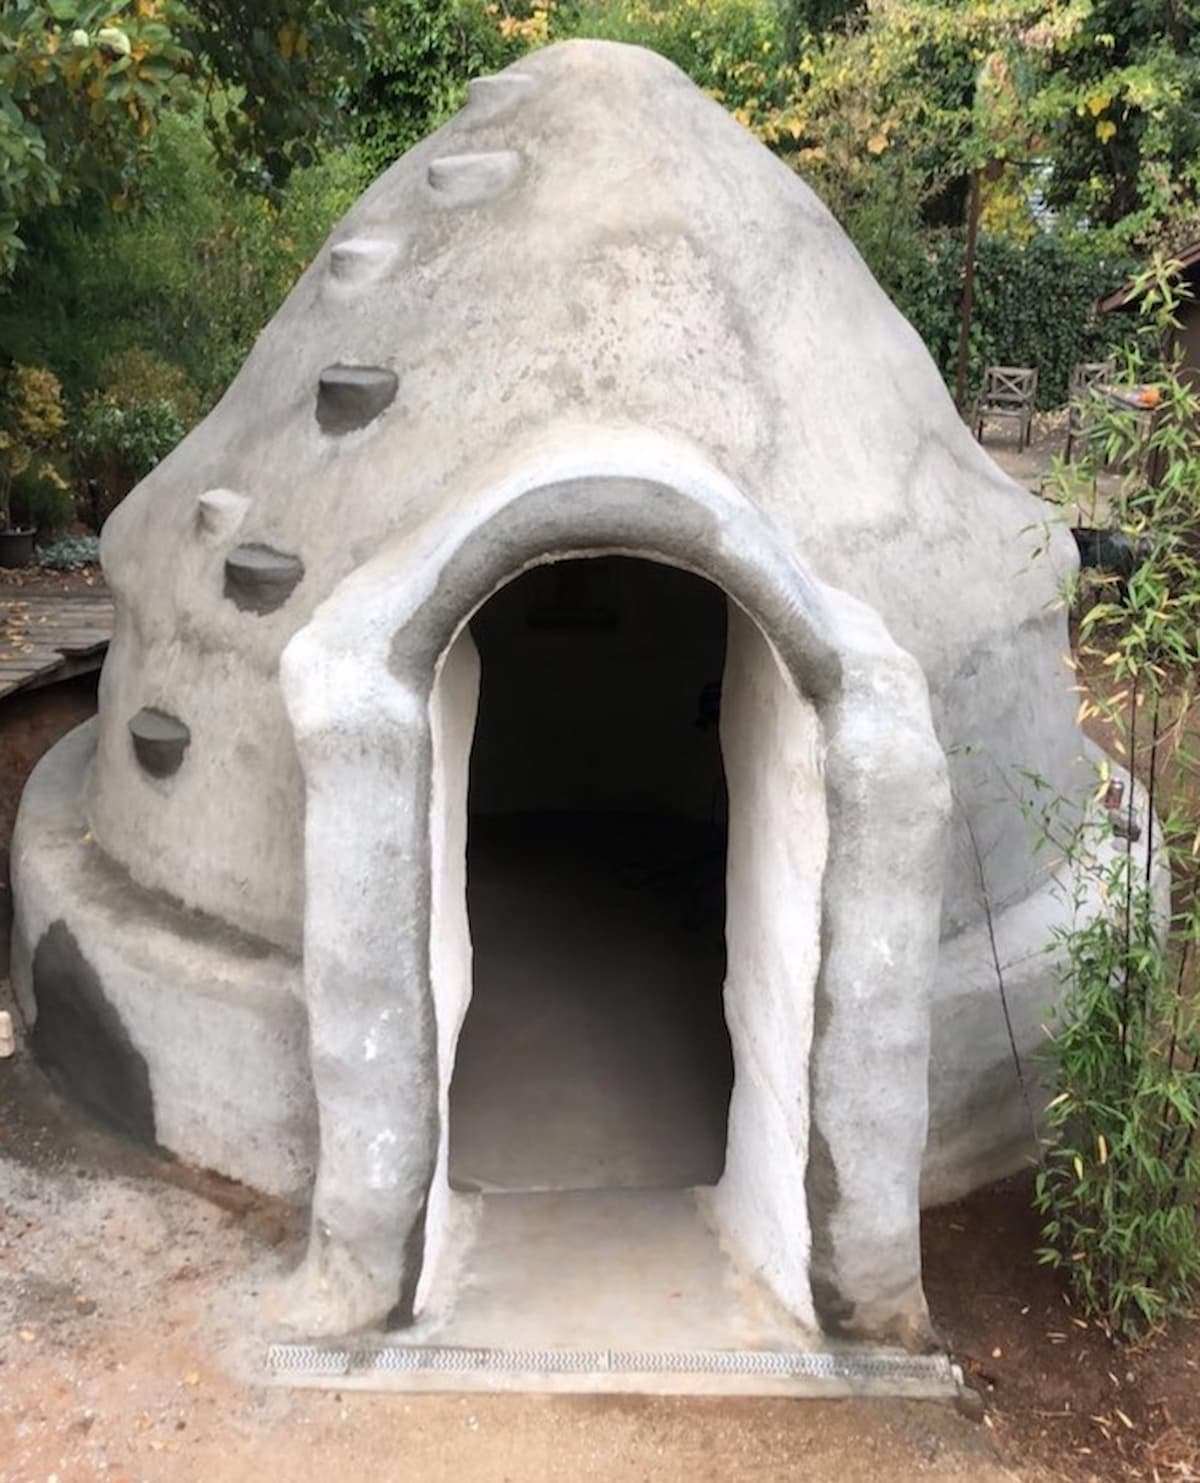
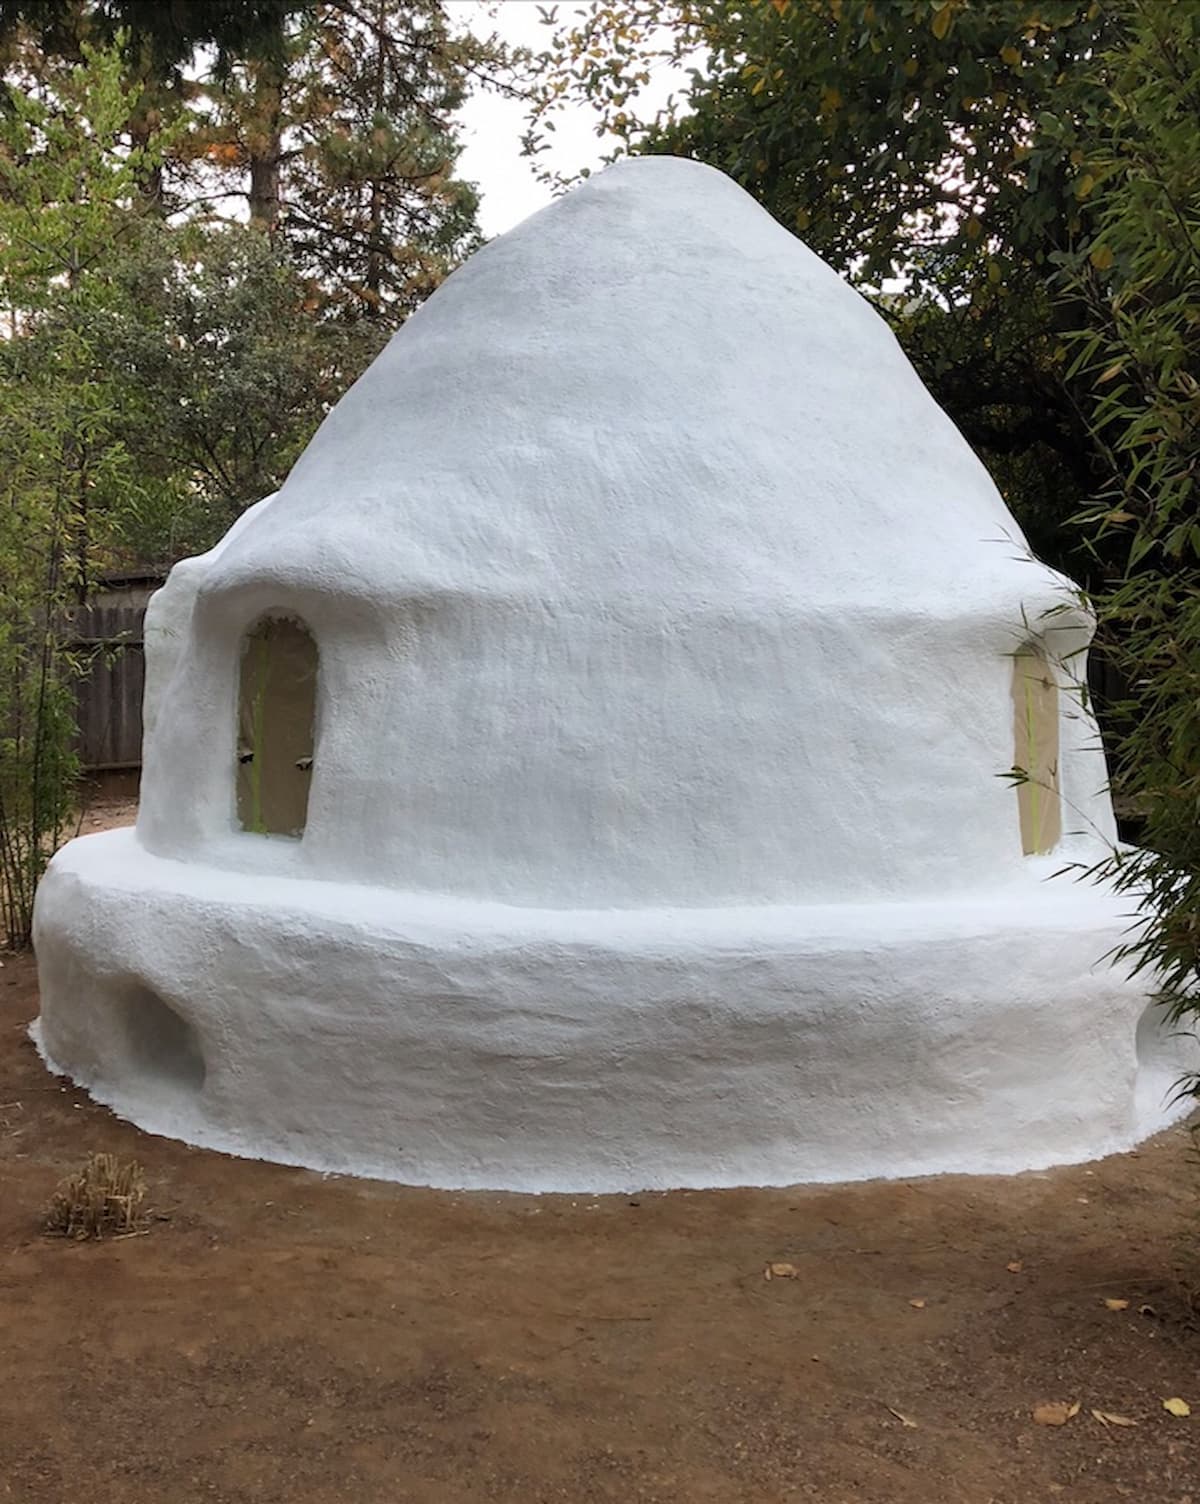
Next I installed a standard-size door and three Roman-arch windows, then masked everything off for paint. The paint is an elastomeric — essentially a rubberized coating that keeps rain from penetrating the dome.
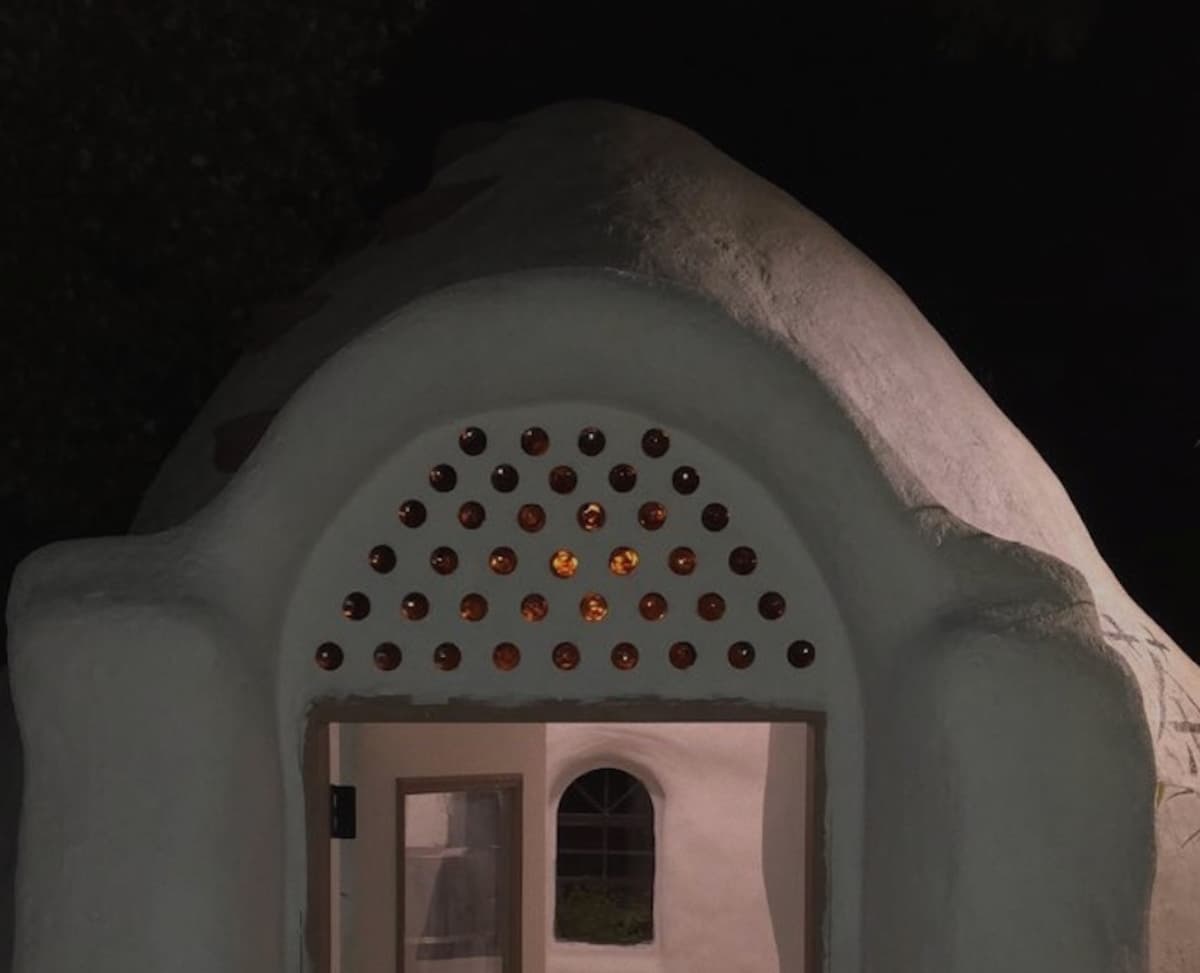
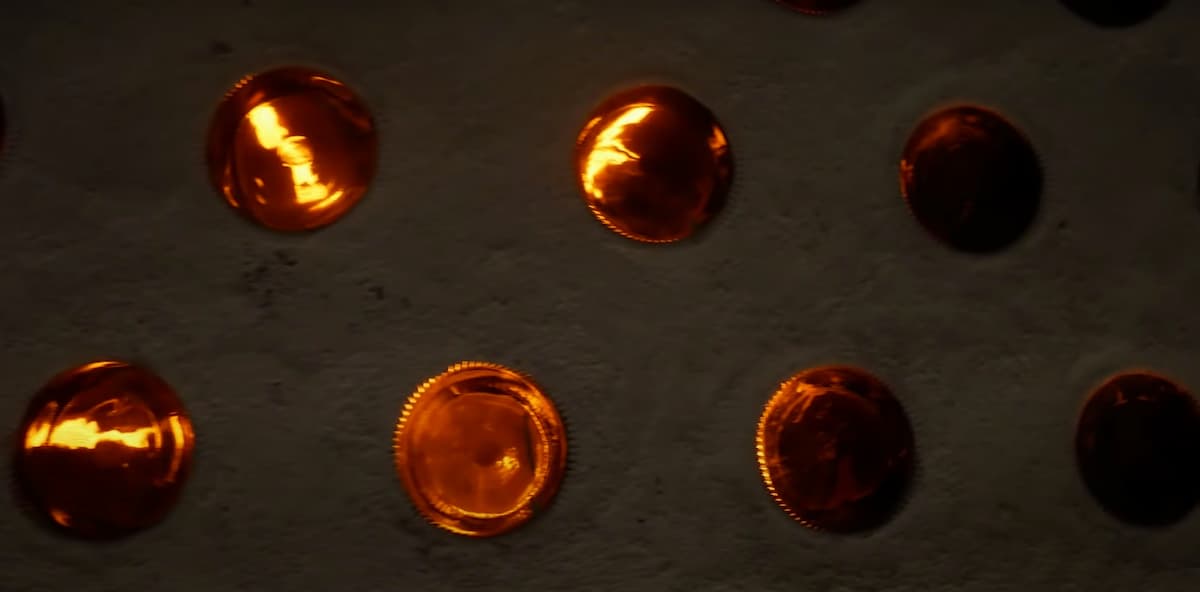
Above the door there was an empty space, which I filled with brown bottles mortared together. At night the light inside shines through the bottles and the whole wall glows.
08Interior
Inside, I started with a rough coat of clay, straw and sand plaster, followed by a rough coat of lime plaster. These coats aren’t meant to look good — the more texture, the better the next layers adhere.
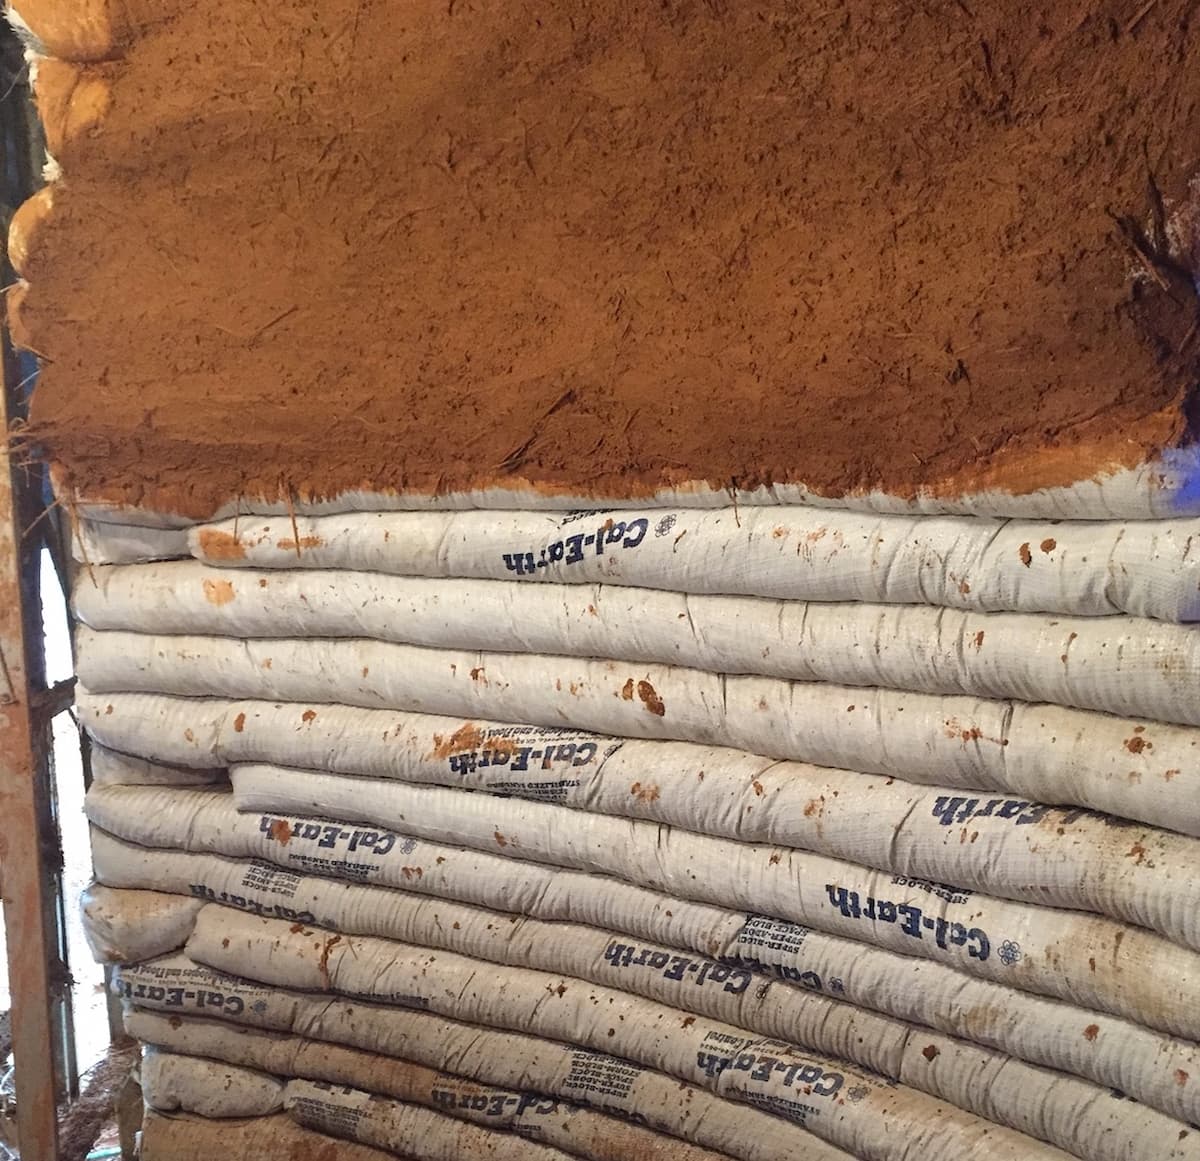
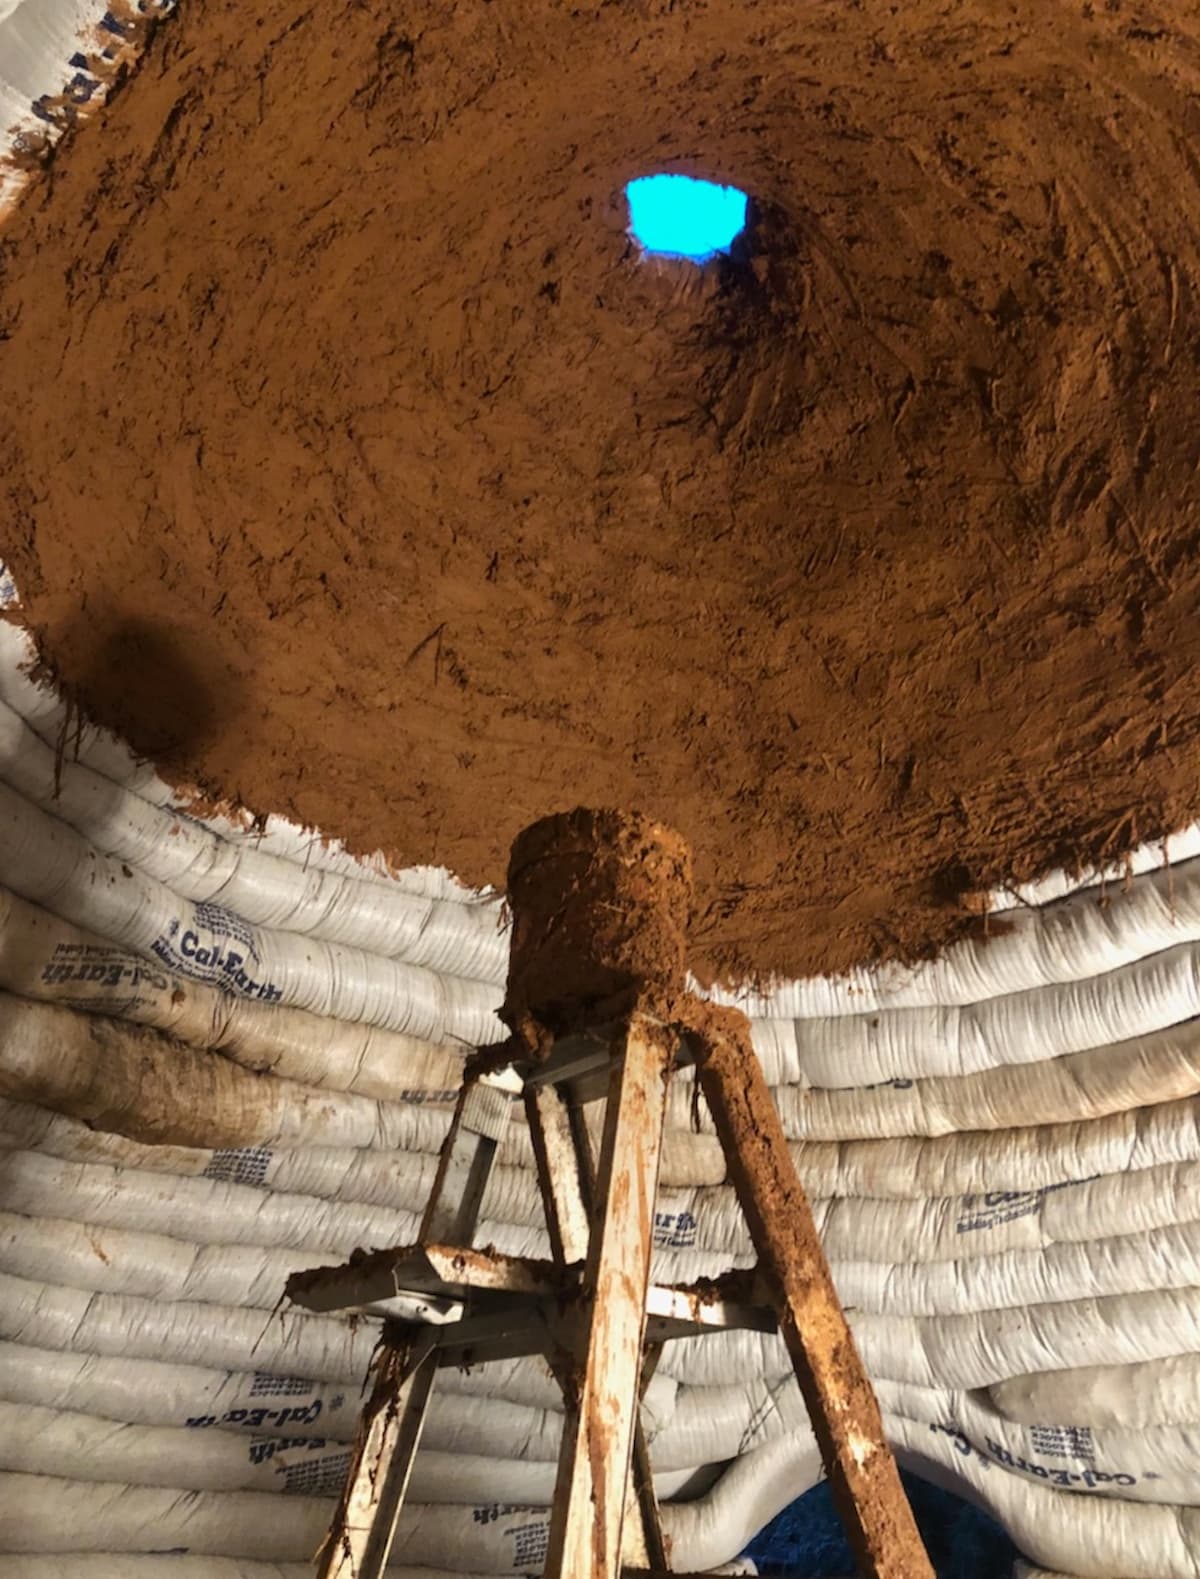
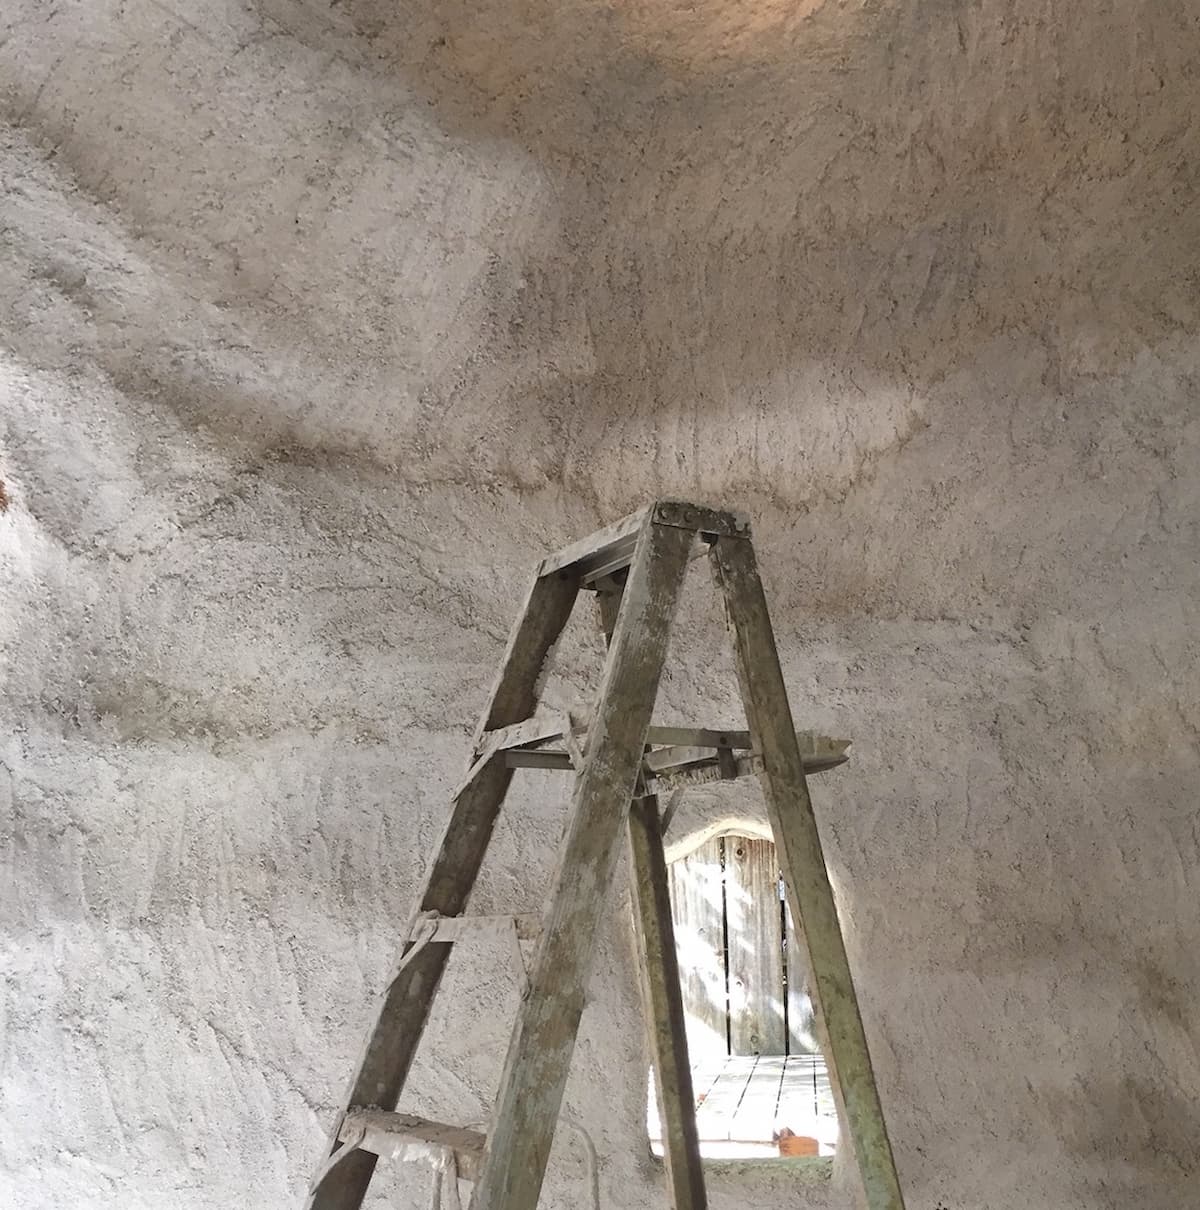
The last coat was a smooth layer of lime plaster.
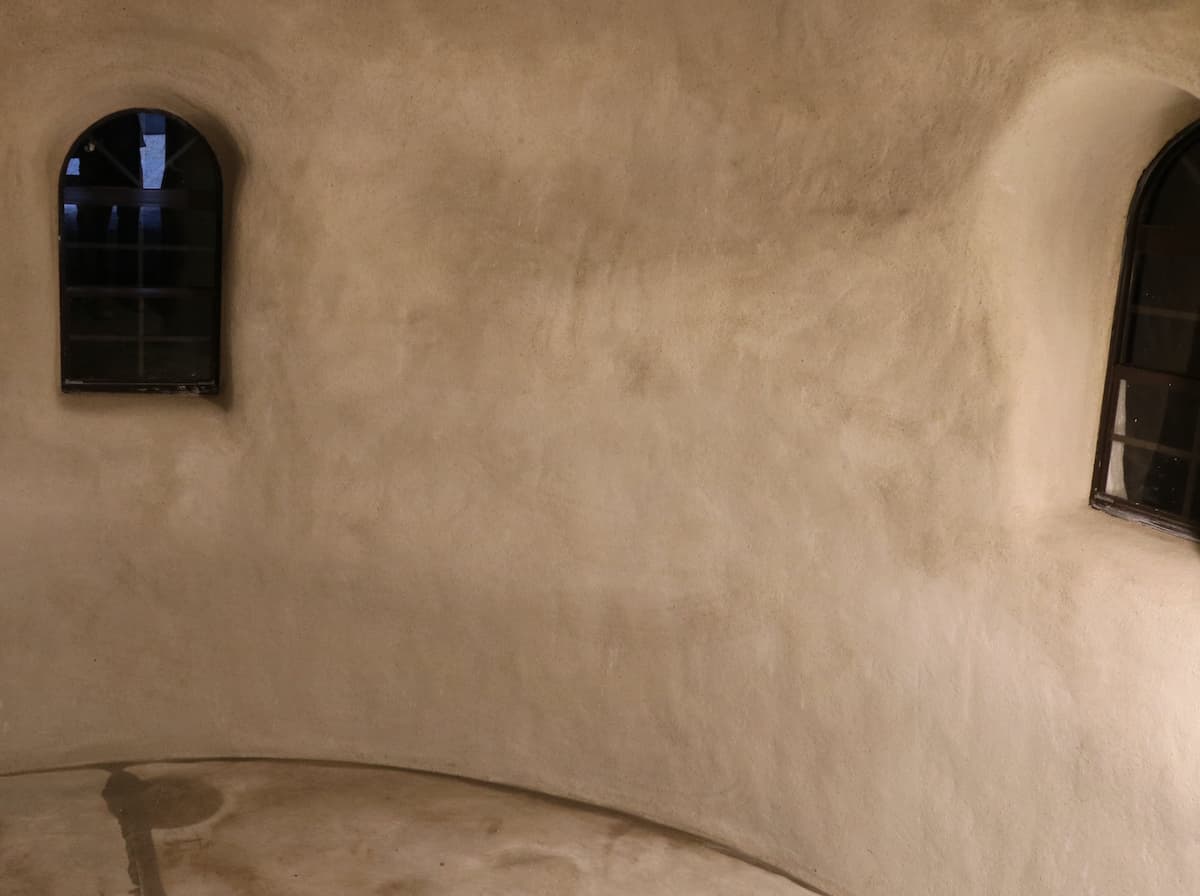
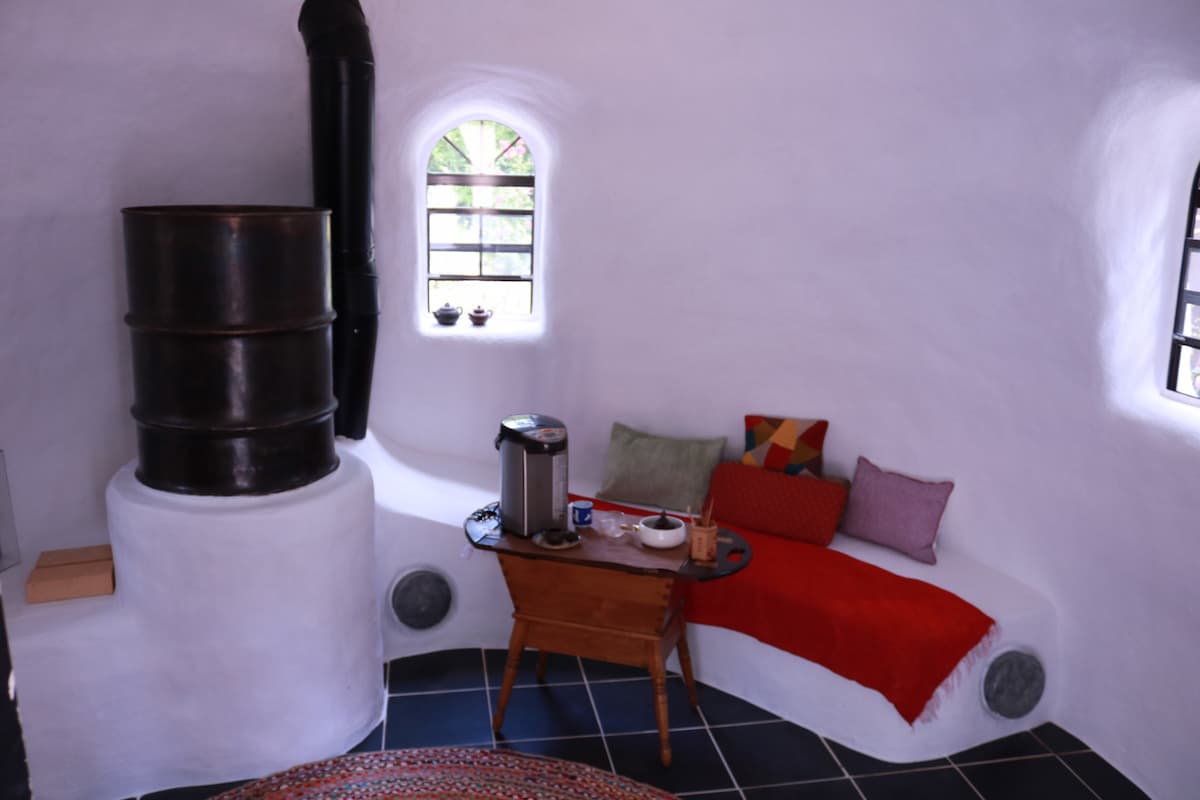
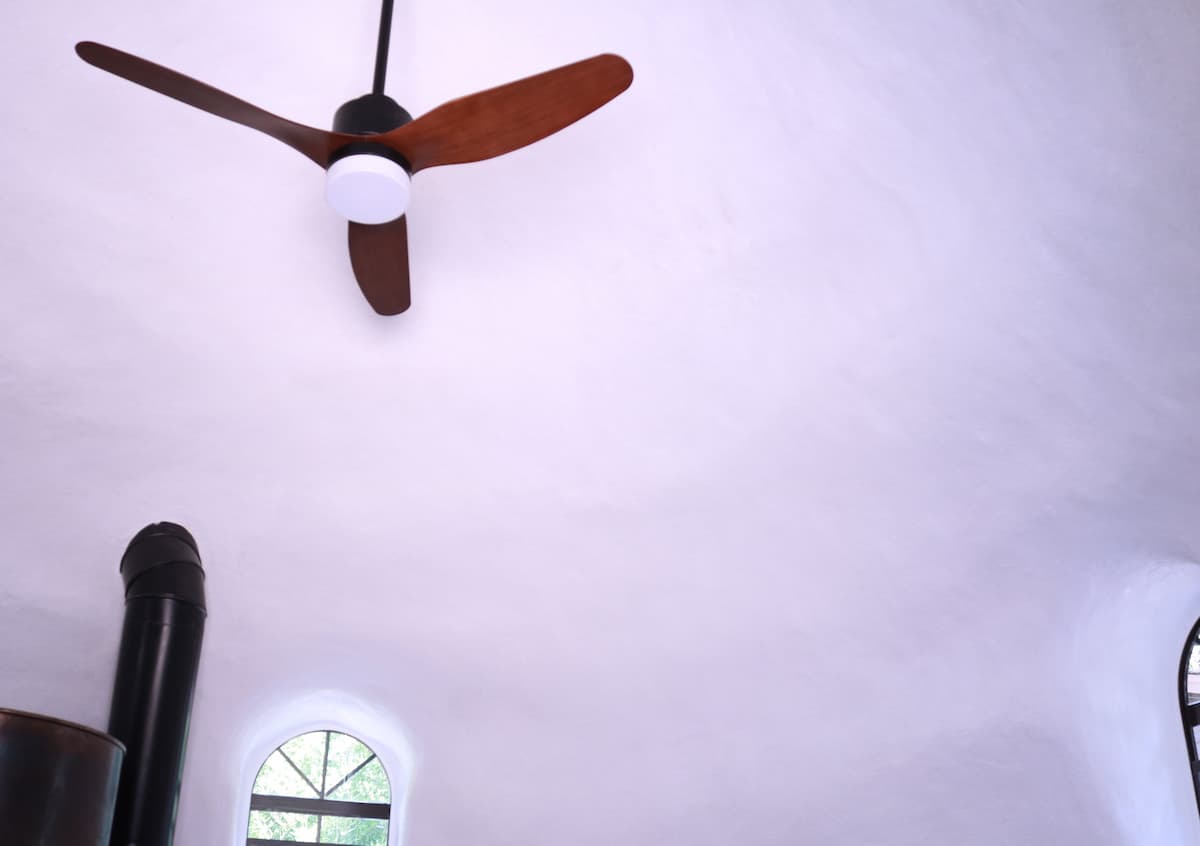
To make the dome more welcoming I added a few modern amenities: electricity for a ceiling fan and overhead light, a single outlet set into the floor, a tile floor — and a custom wood-burning stove, which became its own project.
✓The result
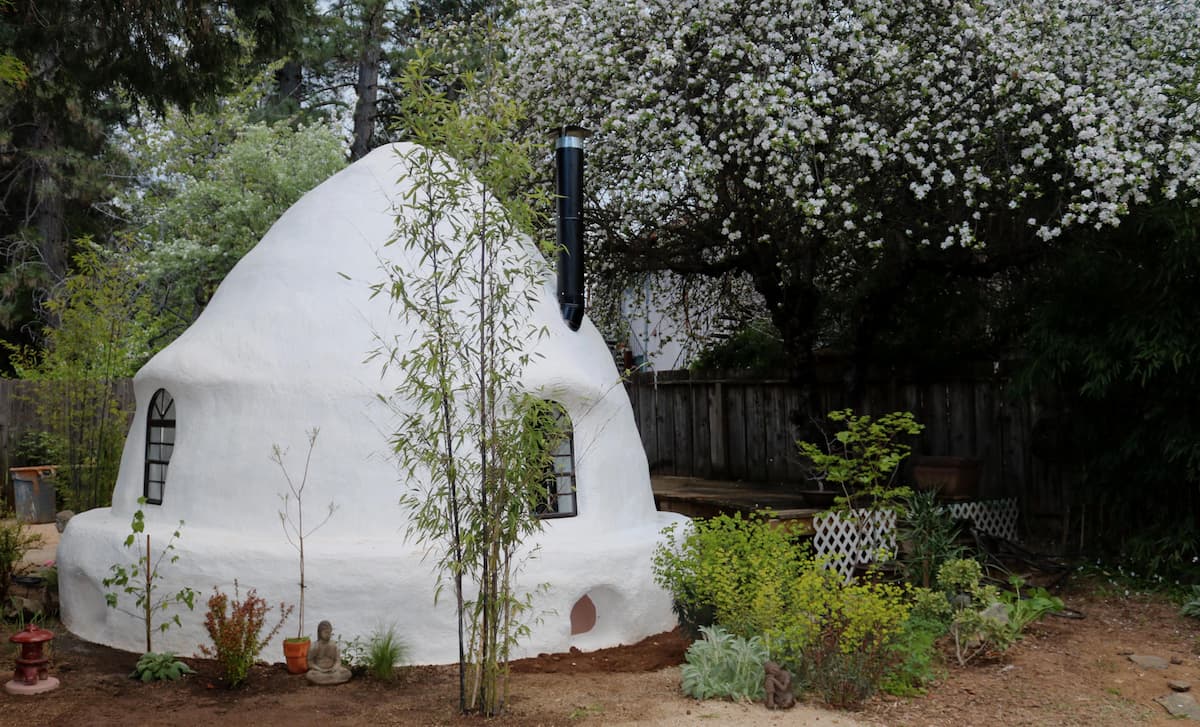
The dome now works beautifully as a tea house. It’s a truly unique space, and guests always leave wondering about its unusual construction. A popular YouTube channel asked to film a short piece about it.